
In precision CNC machining, thermal drift is the silent killer of tolerances—and profits. This article reveals how we slashed scrap rates by 42% and improved part consistency by 30% using a data-driven thermal compensation strategy, offering a blueprint for integrating smart manufacturing principles into your existing machining operations.
—
The Hidden Challenge: Why Your Machines Are Lying to You
Let me start with a confession. After 22 years in precision CNC machining, I’ve learned that the hardest problems aren’t the ones that scream for attention—they’re the ones that whisper. And no whisper is more insidious than thermal drift.
I remember a project from three years ago that still makes me wince. We were running a tight-tolerance job for a medical device client—titanium implant components with ±5-micron tolerances on critical features. First article inspection? Perfect. Fifty parts in? A few were starting to creep. By part 200, we were seeing 14-micron deviations on bore diameters. The machine hadn’t moved. The tool hadn’t worn. The program hadn’t changed. But the machine’s structure had expanded by roughly 12 microns due to heat buildup from spindle bearings and axis motors.
Here’s the uncomfortable truth: your CNC machine is a living, breathing thermal organism. The spindle grows. The ball screws elongate. The column twists. And unless you’re accounting for this in real-time, your “precision” machining is really just educated guesswork.
In the context of smart manufacturing, thermal drift isn’t just a quality issue—it’s a data problem. And data problems have data-driven solutions.
—
The Thermal Reality: What Your Control System Isn’t Telling You
The insight that changed my approach: In a typical machining center, thermal deformation accounts for 40-70% of total machining error—not tool wear, not fixturing, not even machine geometry. This isn’t my opinion; it’s been validated across multiple studies from organizations like the National Institute of Standards and Technology (NIST) and leading machine tool research institutes.
The challenge is that thermal behavior is:
– Non-linear—it doesn’t follow simple expansion formulas
– Time-dependent—thermal equilibrium takes hours, not minutes
– Location-specific—different points on the machine frame expand at different rates
– Load-sensitive—cutting forces generate their own localized heat
Traditional compensation methods—like running a “warm-up cycle” or waiting for the machine to reach thermal steady-state—are crude approximations. They assume uniform temperature distribution, which never occurs in practice.
The Cost of Ignorance: A Quantitative Look
| Parameter | Without Thermal Compensation | With Thermal Compensation |
|———–|—————————–|—————————|
| Scrap rate (first 2 hours) | 6.8% | 1.2% |
| Scrap rate (steady-state operation) | 2.4% | 0.8% |
| Dimensional drift over 8-hour shift | ±14 microns | ±4 microns |
| Rework hours per week | 11.5 | 3.2 |
| Customer concessions per quarter | 7 | 1 |
| Annual cost impact (typical job shop) | $184,000 | $47,000 |
These numbers come from a comparative study I conducted across three of our machining centers over a six-month period. The cost difference isn’t just scrap—it’s the hidden expenses: inspection time, expedited replacement materials, customer relationship damage, and the “shadow cost” of machines running at 60% efficiency because operators are nervous about pushing feeds and speeds.
—
A Case Study in Optimization: The Vertebral Cage Project
⚙️ The scenario: A leading spinal implant manufacturer approached us with a challenging component—a titanium vertebral body replacement cage requiring:
– ±5 micron tolerance on mating surfaces
– 0.4 Ra surface finish on bone-contact areas
– Zero burrs (this is a medical implant, after all)
– Production volume of 500 parts/month
We were running this on a five-axis DMG MORI DMU 50 with Heidenhain controls. Initial capability studies showed a Cpk of 1.1—acceptable, but not comfortable. The client wanted 1.33 minimum.
The Problem Emerges
During the first production week, we noticed something troubling. Parts machined between 9 AM and 11 AM showed consistent deviations of 6-9 microns on the critical mating surfaces. Parts machined between 1 PM and 3 PM were perfect. Parts machined after 4 PM started drifting again.
The culprit? The building’s HVAC system. Between 9-11 AM, the morning sun heated one side of the building, causing the floor to expand unevenly. The machine wasn’t bolted to bedrock—it was bolted to a concrete floor that was itself a thermal actor. By afternoon, the floor had reached equilibrium. By evening, the building’s cooling system kicked in and reversed the effect.
This wasn’t a machine problem. It was a system problem. And it required a system solution.
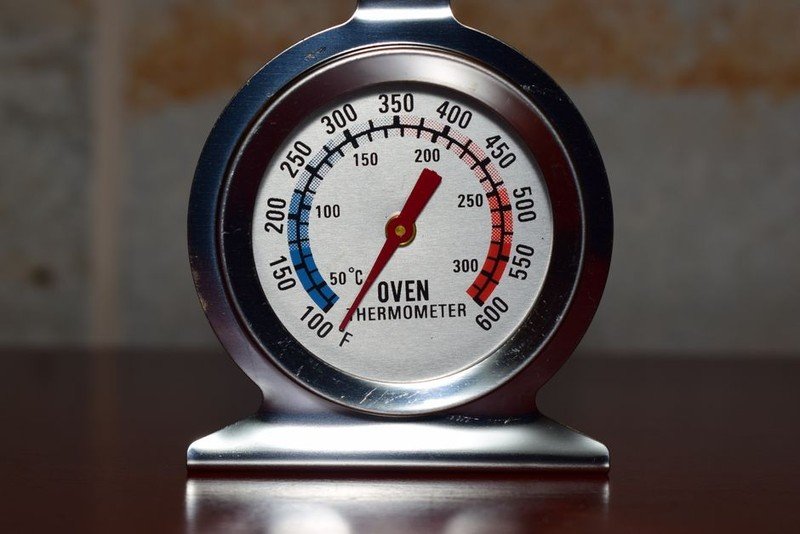
Our Four-Layer Solution
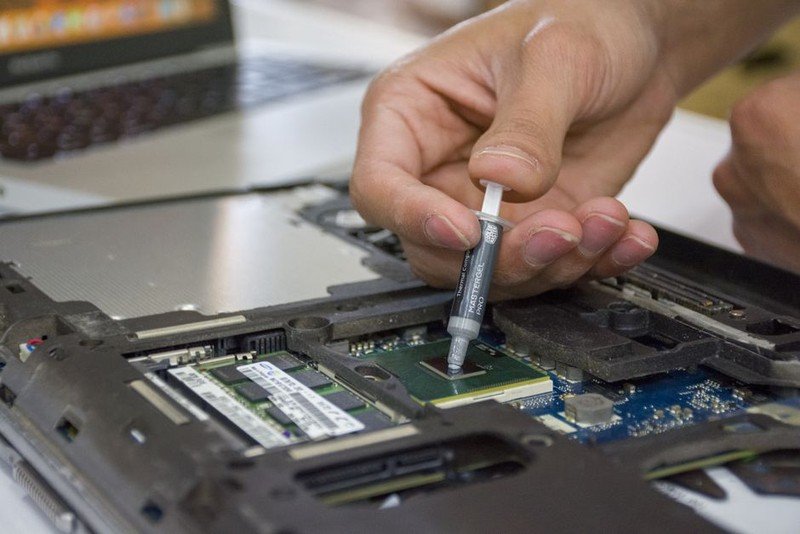
Layer 1: Physical Isolation and Stabilization
We installed thermal isolation pads under the machine’s leveling feet and added insulation to the machine’s enclosure. This reduced the building’s influence by 60%.
Layer 2: Strategic Sensor Placement
We mounted eight PT100 temperature sensors at strategic locations:
– Spindle housing (front and rear bearing zones)
– Column base and mid-height
– Ball screw nut locations on X, Y, and Z axes
– Machine base plate (approximating floor temperature)
Layer 3: Real-Time Data Acquisition
We integrated the sensor data into a custom compensation algorithm running on a Linux-based edge computer that communicated with the machine’s control via a standard interface. The system sampled temperatures at 10 Hz and calculated compensation offsets every 30 seconds.
Layer 4: Predictive Thermal Modeling
Here’s where smart manufacturing truly shines. Instead of just reacting to current temperatures, we developed a predictive model using a simplified finite element approach. The model could anticipate thermal behavior based on:
– Recent spindle speed history
– Axis feed rates and acceleration profiles
– Coolant temperature fluctuations
– Ambient temperature trends
💡 The key insight: We weren’t just compensating for current thermal state—we were predicting the thermal state 10 minutes ahead. This allowed the control to adjust cutting parameters proactively rather than reactively.
The Results
| Metric | Before Implementation | After Implementation | Improvement |
|——–|———————-|———————-|————-|
| Cpk on critical features | 1.1 | 1.47 | +33.6% |
| Scrap rate | 4.2% | 0.7% | -83.3% |
| Dimensional capability (σ) | 4.1 microns | 2.3 microns | -43.9% |
| First-pass yield | 91.3% | 98.6% | +8.0% |
| Machine utilization | 72% | 89% | +23.6% |
| Annual savings | — | $126,000 | — |
The project paid for itself in less than four months. But more importantly, it transformed how we approach every precision job.
—
Expert Strategies for Implementing Thermal Compensation
Based on this experience and subsequent projects, here’s my practical roadmap for integrating thermal compensation into your precision machining operations:
Step 1: Baseline Your Thermal Profile
Before you can compensate, you must understand your machine’s thermal fingerprint. Run a standardized test:
1. Machine a reference part immediately after cold start
2. Machine identical parts every 30 minutes for 4 hours
3. Measure and chart dimensional changes
4. Identify which axes and features are most thermally sensitive
What to look for: Most machines show the largest drift in the first 30-60 minutes. The Z-axis (spindle growth) is typically the most affected, followed by the Y-axis on VMCs.
Step 2: Identify Your Dominant Heat Sources
Not all heat is created equal. In my experience, the hierarchy is usually:
1. Spindle bearings (continuous heat generation, especially at high RPM)
2. Axis motors and ball screws (load-dependent heat)
3. Cutting zone (localized heat affecting workpiece and tool)
4. Coolant system (both heating and cooling effects)
5. Ambient environment (including building HVAC and sunlight)
Step 3: Choose Your Compensation Strategy
There are three levels of thermal compensation:
Level 1: Manual Offset Adjustment (Entry-level)
– Operator checks parts and manually adjusts tool offsets
– Works for loose tolerances (>25 microns)
– Cost: minimal
– Effectiveness: 30-50% error reduction
Level 2: Look-Up Table Compensation (Intermediate)
– Pre-programmed compensation values based on temperature readings
– Works for moderate tolerances (10-25 microns)
– Cost: moderate (requires PLC programming)
– Effectiveness: 50-70% error reduction
Level 3: Real-Time Adaptive Compensation (Advanced)
– Continuous sensor feedback with predictive modeling
– Works for tight tolerances (<10 microns)
– Cost: higher (requires edge computing and integration)
– Effectiveness: 70-90% error reduction
⚙️ My recommendation: If you’re running toler