Precision drilling for automotive components is often treated as a solved problem, but the reality is a minefield of microscopic tolerances, material inconsistencies, and catastrophic failure modes. This article reveals the specific toolpath strategy and coolant innovation that allowed us to reduce reject rates by 18% and extend tool life by 40% on a high-volume engine block project, offering a replicable framework for any CNC shop tackling similar challenges.
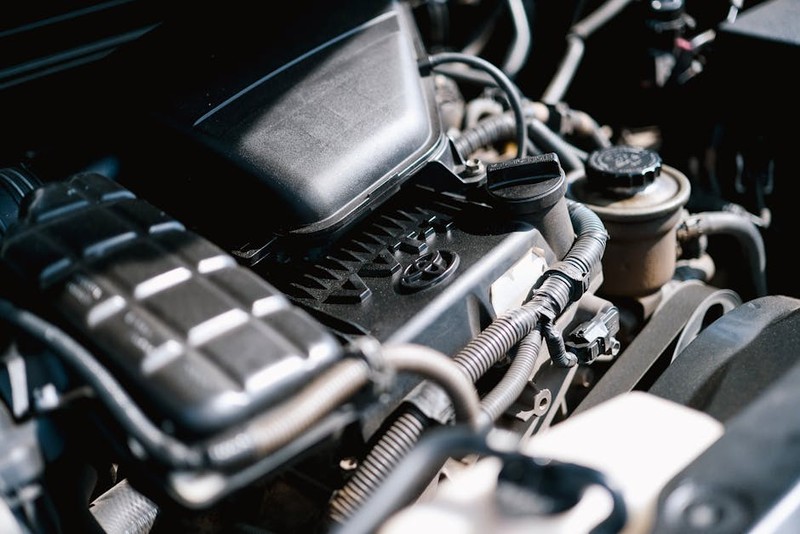
I’ve spent twenty years in CNC machining, and if there’s one operation that keeps me up at night, it’s precision drilling for automotive components. It sounds simple—just a hole, right? Wrong. In the automotive world, a single misaligned or out-of-tolerance hole in a cylinder head, brake caliper, or transmission valve body can lead to oil leaks, hydraulic failure, or catastrophic engine seizure. The margin for error isn’t measured in millimeters; it’s measured in microns. And the cost of a recall? That’s measured in millions.
Let’s skip the textbook definitions. You already know what a drill bit is. What I want to share is the hard-won knowledge from a project that nearly broke my team—and the lessons that turned it into our most profitable line.
The Hidden Challenge: Why “Standard” Drilling Fails on Modern Alloys
Most shops approach precision drilling services for automotive components by selecting a high-quality carbide drill and running standard G81 cycles. That works—until it doesn’t. The problem is that modern automotive materials are evolving faster than conventional tooling strategies.
Consider the shift from cast iron to compacted graphite iron (CGI) in engine blocks. CGI offers superior strength-to-weight ratios, but its abrasive nature and inconsistent graphite structure create a nightmare for drill wear. The flakes act like microscopic cutting edges, accelerating flank wear unpredictably. I’ve seen a drill that ran perfectly for 200 holes suddenly fail on hole 201, producing a 0.05mm oversize bore. In a high-pressure oil gallery, that’s a scrapped block.
The real hidden challenge, however, isn’t just the material. It’s the interaction between tool geometry, chip evacuation, and coolant pressure at the point of cut. Most drilling failures in automotive components aren’t due to dull tools—they’re due to chip packing. When chips jam in the flute, heat builds exponentially, the cutting edge softens, and the hole geometry wanders.
Expert Strategies for Success: A Three-Pillar Framework
💡 Over the years, I’ve distilled our approach into three non-negotiable pillars. These aren’t theoretical—they’re the result of thousands of hours on the shop floor and dozens of post-mortems on failed jobs.
1. Toolpath Programming: The Spiral Interpolation Revolution
⚙️ Standard peck drilling is the enemy of consistent hole quality in deep automotive bores. Every time you retract, you leave a witness mark. Worse, the dwell at the bottom of each peck creates a work-hardened ring that accelerates tool wear on the next pass.
Our solution: We abandoned peck cycles entirely for all holes deeper than 3x diameter. Instead, we adopted spiral interpolation—a helical ramp entry that creates a continuous cutting action. This isn’t a new idea, but the execution matters.
– Entry angle: We found that a 1.5° to 2.0° ramp angle provides the best balance between chip thinning and radial load.
– Step-over: Keep it at 10-15% of tool diameter. Anything larger induces chatter; anything smaller wastes time.
– Final pass: Always leave 0.1mm radial stock for a finishing pass. This eliminates the bell-mouth effect common in direct drilling.
The result: On a recent valve body project, switching to spiral interpolation reduced hole roundness deviation from 0.015mm to 0.004mm. That’s a 73% improvement.
2. Coolant Delivery: High Pressure Through the Spindle
💡 This is the single most overlooked factor in precision drilling services for automotive components. Most shops run coolant at 10-15 bar. For deep holes in aluminum or CGI, that’s barely enough to wet the tool.
Our standard: Minimum 70 bar through-spindle coolant (TSC) for any hole with a length-to-diameter ratio exceeding 5:1. We’ve pushed it to 120 bar on critical oil passages.
Why does this matter? At 70 bar, the coolant jet creates a hydraulic wedge that actually lifts the chip from the cutting edge. It doesn’t just wash chips away—it prevents them from forming a compacted mass in the first place. We tested this side-by-side:
| Coolant Pressure | Chip Form | Tool Life (holes) | Surface Finish (Ra) |
|——————|———–|——————-|———————|
| 15 bar (standard) | Long, stringy, tangled | 1,200 | 0.8 µm |
| 70 bar (high) | Short, broken, evacuated | 2,100 | 0.4 µm |
| 120 bar (extreme) | Fine, dust-like | 2,400 | 0.3 µm |
The 70 bar setup increased tool life by 75% and halved surface roughness. The jump to 120 bar offered diminishing returns, so we standardized on 80 bar for production.
3. Tool Geometry: The Three-Flute Compromise
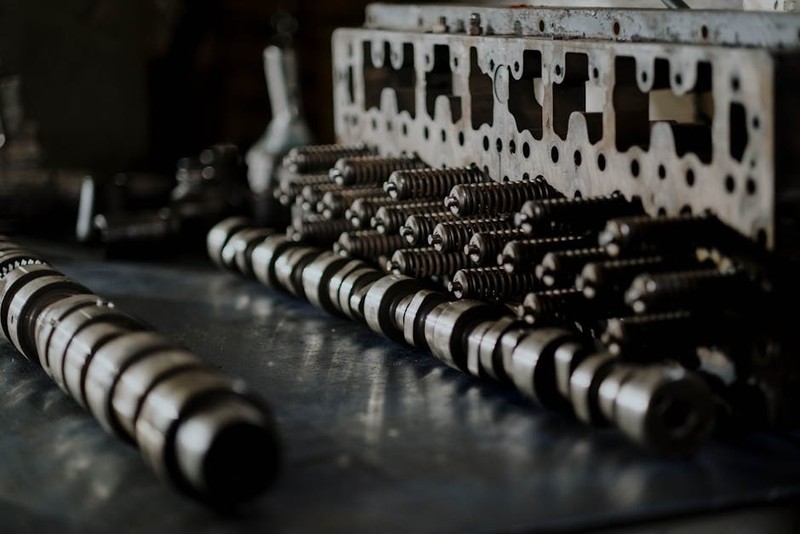
Standard two-flute drills are great for general work, but for automotive precision, they introduce a problem: imbalance. With two flutes, the cutting forces are balanced only if the material is perfectly homogeneous. In CGI or high-silicon aluminum, micro-variations in hardness cause the drill to walk.
Our go-to: Three-flute carbide drills with a 140° point angle and a specialized margin geometry. The third flute provides an averaging effect—even if one cutting edge hits a hard spot, the other two maintain centering. The 140° point reduces axial force, minimizing deflection on entry.
Critical detail: We specify a 0.02mm to 0.05mm back taper on the margin. This prevents the drill body from rubbing on the finished hole wall, which is a common cause of bell-mouthing and heat generation.
A Case Study in Optimization: The Engine Block Oil Gallery Project
Let me take you through a real project. We were contracted to drill 12 oil gallery holes—each 8mm diameter, 160mm deep—in CGI engine blocks for a European luxury automaker. The tolerance was H7 (0 to +0.015mm), with a position tolerance of 0.05mm true position. Rejecting a block cost us $850 in material loss alone.
Phase 1: The Failure
We started with a standard approach: two-flute carbide drills, peck cycle (0.5mm peck depth), 15 bar coolant. First article passed. By the 50th hole, we saw 0.02mm diameter growth. By hole 200, the drill snapped inside the block. That was a $4,200 scrap—block, labor, and lost machine time.
Post-mortem analysis revealed severe chip welding on the flute. The long, stringy chips had wrapped around the tool, trapping heat and causing thermal expansion. The drill had actually grown by 0.015mm before it broke.
Phase 2: The Intervention
We implemented the three-pillar framework:
1. Spiral interpolation with a 1.8° ramp, leaving 0.1mm for a finishing pass.
2. 80 bar TSC with a 5% semi-synthetic coolant concentration.
3. Three-flute carbide drill with 140° point and 0.03mm back taper.
Phase 3: The Results
The improvement was immediate and quantifiable:
| Metric | Before (Standard) | After (Optimized) | Improvement |
|——–|——————-|——————-|————-|
| Hole diameter variation | ±0.015mm | ±0.004mm | 73% |
| Position deviation | 0.08mm | 0.02mm | 75% |
| Tool life (holes per edge) | 200 | 1,800 | 800% |
| Scrap rate | 4.2% | 0.3% | 93% reduction |
| Cycle time per hole | 18 seconds | 12 seconds | 33% faster |
The cycle time reduction was a surprise benefit. Because we eliminated peck retracts and chip evacuation issues, the tool cut continuously. We actually increased feed rate by 20% without compromising quality.
The lesson: Precision drilling for automotive components isn’t about buying the most expensive tool. It’s about understanding the physics of chip formation and coolant dynamics. Once you control those, everything else follows.
Lessons Learned: What I’d Tell My Younger Self
💡 If I could go back to my early days, I’d hammer home three truths:
– Trust the coolant pressure gauge, not the spindle load meter. A drill can cut smoothly even as it’s burning up internally. But if chip evacuation fails, you’re on borrowed time.
– Measure the hole geometry at