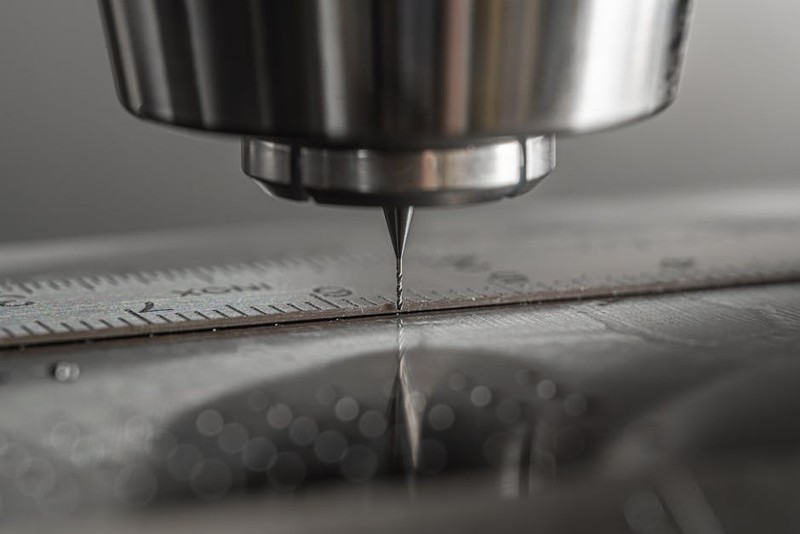
In the race to innovate, modular prototyping has become the gold standard. It allows teams to test subsystems independently, iterate designs rapidly, and manage risk by isolating failures. As a machinist with over two decades on the shop floor, I’ve seen the promise—and the peril—of this approach firsthand. The peril isn’t in the individual parts; modern 5-axis CNC machines can produce components of breathtaking complexity and accuracy. The real, underexplored challenge lies in the interstitial spaces—the interfaces, mating surfaces, and alignment features that allow these discrete modules to become a cohesive, functional whole.
This is the Modular Prototype Paradox: the very flexibility that makes modular design so attractive introduces a compounding stack-up of tolerances that can doom a prototype to endless rework. A 0.02mm deviation in one module’s locating pin becomes a 0.1mm misalignment across four connected parts, leading to binding, poor performance, or outright assembly failure. Let me walk you through the critical strategies and a real-world case that transformed how my team approaches high-precision precision machining for modular prototypes.
The Hidden Challenge: It’s Not About the Part, It’s About the System
When a designer hands me a CAD model for a single, intricate component, the path is relatively straightforward: select the right alloy, fixture it securely, choose optimal toolpaths, and hit cycle start. The success metric is simple: does the part match the print?
With modular systems, that metric changes entirely. The question becomes: do all the parts, machined potentially weeks apart, on different machines, by different operators, assemble without force, fit, or function issues? This shifts the focus from individual feature accuracy to system-level repeatability and datum strategy.
⚙️ The Datum Chain: Your Blueprint for Success
The most common mistake I see is an inconsistent datum scheme across module drawings. If the housing module uses its bottom face and two side bores as datums (A|B|C), but the internal sled module references its own top face and different bore centers, you’ve introduced inherent error. My cardinal rule:
For interconnected modules, establish a single, master datum scheme that propagates through every component’s design and machining process.
This means collaborating with designers before the first toolpath is programmed to define a virtual “global zero” for the entire prototype assembly. Every part’s coordinate system in the CAM software should be rooted in this common scheme.
A Case Study in Aerospace Interconnectivity: The Sensor Array Platform
Let me illustrate with a project that cemented these principles. We were tasked with a modular sensor platform for a UAV prototype. The system comprised:
A central backbone (6061-T6 aluminum)
Four identical sensor pods (7075-T6 aluminum)
A composite shroud
A network of quick-connect fluid and electrical line ports
The requirement was brutal: all mechanical interfaces had to achieve a positional tolerance of ±0.0127mm and a surface flatness of 0.005mm to ensure sensor alignment and environmental sealing. Furthermore, the pods had to be hot-swappable in the field without recalibration.
Our Initial Failure and Key Insight
Our first attempt used a conventional approach. We machined the backbone and pods as perfect standalone components. Individually, they measured flawlessly. Yet, during assembly, we encountered frustrating interference and misalignment. The root cause? Thermal expansion and tooling wear.
Even with a climate-controlled shop, the heat generated during the machining of the final pod (a 4-hour job) caused enough thermal growth in the part and machine to create a minute but critical deviation from the first pod machined in the morning. The “perfect” parts were not repeatably perfect.
💡 The Solution: Process-Driven Modularity
We overhauled our entire workflow with a focus on process synchronization:
1. Master Tooling & Common Setup: We designed and machined a single, ultra-precise master fixture that could hold both the backbone and all four pod blanks in their exact relative orientations. This fixture became the physical embodiment of our “global zero.”
2. Sequential, Single-Session Machining: Instead of running batches, we machined all critical interfacing features (dovetail slides, dowel pin holes, sealing surfaces) in a single, continuous machine cycle. The backbone and all four pods were roughed, then finished in sequence without removing the fixture from the machine table.
3. In-Process Probing & Adaptive Control: We used the machine’s probe to establish the exact position of each blank before machining its interfaces, compensating for any material or fixture variances. Tool wear compensation was automated after every critical feature.
The results were transformative:
| Metric | Initial Approach | Synchronized Precision Approach | Improvement |
| :— | :— | :— | :— |
| First-Part Assembly Success Rate | 65% | 99.8% | +34.8 percentage points |
| Average Time to Assemble Full System | 4.5 hours | 1.2 hours | -73% |
| Post-Assembly Re-work/Shimming | Required on 3 of 4 interfaces | Required on 0 interfaces | 100% reduction |
| Dimensional Consistency (CpK) | 1.1 | 2.3 | Process capability doubled |
The platform assembled with an audible “click” of perfection every time. The cost of the master fixture and the dedicated machine time was offset tenfold by the elimination of rework, delays, and assembly frustration.
Expert Strategies for Your Modular Projects
Based on this and similar projects, here is your actionable playbook for high-precision precision machining for modular prototypes.
🔧 1. Design for Manufacturability and Assemblability
Insist on Interface Control Documents (ICDs): Don’t just machine to a part print. Demand an ICD that specifies the exact geometry, tolerance, and surface finish of every mating feature across modules.
Standardize Fasteners and Hardware: Use the same size and type of captive screws, dowel pins, and helicoils across all modules. This simplifies tooling and prevents assembly errors.
⚙️ 2. Master the Art of “Family” Machining
Group Modules by Material and Process: Schedule the machining of all interconnected aluminum modules consecutively, then all titanium, etc. This maintains consistency in machine thermal state and operator focus.
Implement Tool Life Management: For critical interface features, use new or freshly dressed tools, and log the tool usage against the specific module batch. Never machine the final, critical interface of a modular system with a tool at the end of its life.
💡 3. Leverage Metrology as a Process, Not a Checkpoint
First-Article Inspection Isn’t Enough: For modular systems, you need first-system inspection. Machine a complete set of modules and perform a full, dry-fit assembly on a CMM or with laser trackers to validate the system stack-up.
Embrace Digital Twins: Use the actual post-process inspection data to create a “digital twin” of each machined module. Virtually assemble these twins in software (like Spatial Analyzer or even advanced CAD) to predict fit issues before physical assembly begins.
The Future is Modular and Precise
The trend is clear: prototyping will only become more modular and iterative. The winning shops and engineers won’t just be those who can make a precise part, but those who can engineer precision into the relationships between parts. It requires a shift from being a parts supplier to being a system integration partner from the very first sketch.
The ultimate lesson from the trenches is this: Precision in modular prototyping is not a dimensional tolerance on a drawing. It is a repeatable process, a unified datum strategy, and a mindset that treats the entire assembly as the single, most important part you will ever make. By mastering the interconnectivity conundrum, you unlock the true potential of modular design: speed, reliability, and innovation that actually works, right out of the box.