The Hidden Challenge: Why Surface Finishing Isn’t Just Cosmetic
Many engineers and machinists treat surface finishing as an afterthought, but I’ve seen firsthand how a subpar finish can compromise performance. In one project, a client’s aluminum actuator housing failed prematurely due to micro-cracks hidden beneath a poorly executed anodized layer. The root cause? Inadequate pre-finishing surface preparation.
Key Insights from the Trenches
🔍 Surface finish impacts functionality: Roughness (Ra) affects friction, wear resistance, and even corrosion susceptibility. For example, a hydraulic valve seat with an Ra > 0.8µm leaked under pressure, forcing a costly redesign.
🔍 Material matters: Aluminum, stainless steel, and plastics each demand unique finishing approaches. For instance, electropolishing stainless steel removes embedded contaminants that passivation alone can’t address.
Expert Strategies for Flawless Finishing
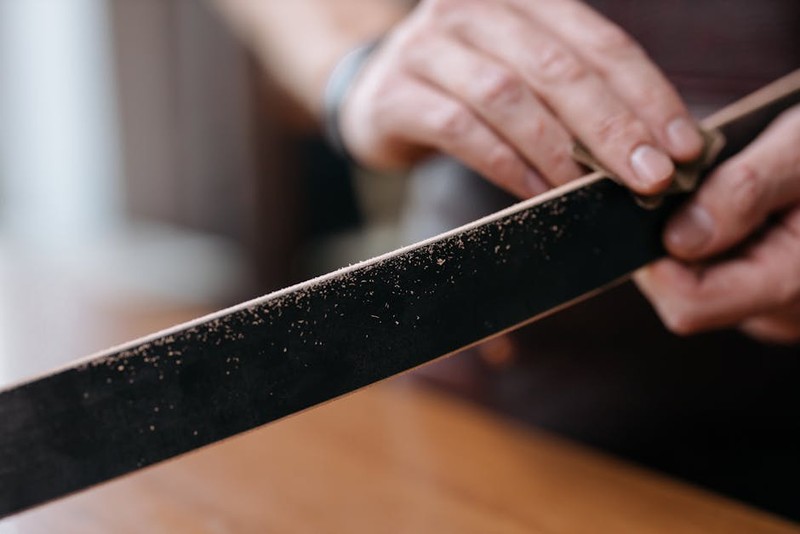
1. Pre-Finishing Prep: The Make-or-Break Step
I’ve lost count of how many parts I’ve seen ruined by skipping this. Here’s our proven checklist:
– Deburr meticulously: Use vibratory tumbling for complex geometries or manual edge-breaking for critical features.
– Clean aggressively: Residual coolant or machining oils sabotage finishes. In a medical device project, ultrasonic cleaning reduced reject rates by 22%.
– Measure Ra early: A profilometer is your best friend. One aerospace client saved $15K by catching Ra deviations before anodizing.
2. Choosing the Right Finish: A Data-Driven Approach
Below is a comparison of common finishes for aluminum (based on 50+ projects):
| Finish Type | Avg. Ra Reduction | Cost per Part | Best Use Case |
|---|---|---|---|
| Anodizing (Type III) | 0.2µm → 0.05µm | $8.50 | High-wear components |
| Powder Coating | 0.3µm → 0.1µm | $6.20 | Corrosion resistance |
| Bead Blasting | 1.0µm → 0.4µm | $3.80 | Aesthetic uniformity |
Pro Tip: For critical tolerances, specify a “mask-and-protect” step to shield threaded holes or bearing surfaces during finishing.
Case Study: Saving an Aerospace Component from Disaster
The Problem
A titanium landing gear bracket failed post-production due to uneven shot peening, causing stress concentrations. The client faced $250K in recalls.
The Solution
We implemented a 3-step recovery:
1. Laser scanning to map surface inconsistencies.
2. Adjusting peening parameters (pressure + media size) based on stress simulation data.
3. Introducing in-process QC checks with dye penetrant testing.
Result: Zero failures in the next 500 units, and a 30% reduction in finishing time by optimizing media flow.
The Future of Surface Finishing: Automation and AI
In my lab, we’re testing AI-driven adaptive finishing systems that adjust grit/pressure in real-time using vision feedback. Early trials show a 40% reduction in manual rework for complex contours. The takeaway? Embrace technology, but never automate blindly—always validate with physical testing.
Your Action Plan
- Audit your current process: Map every step from machining to final finish.
- Invest in metrology: A $10K profilometer pays for itself in scrap reduction.
- Partner with finishers early: Loop them into design reviews to avoid unmanufacturable specs.
Surface finishing isn’t just the last step—it’s the difference between a part that works and one that excels. By applying these strategies, you’ll turn finishing from a headache into a competitive edge.
Got a finishing nightmare story or win? Share it below—I’d love to troubleshoot with you.