
Discover how advanced CNC routing services overcome the hidden challenge of optical-grade acrylic finishing for luxury signage, featuring a case study where precision toolpath optimization reduced post-processing by 40% and achieved a flawless mirror-like edge on a high-end retail installation.
—
The Hidden Challenge: Beyond the Logo
In my two decades running a CNC machining shop, I’ve seen countless luxury signage projects fail not because of poor design, but because of a single, overlooked variable: the quality of light interaction with the material. When a high-net-worth client installs a 3D-illuminated logo in their flagship store, they aren’t just buying letters—they’re buying a statement of perfection. Every edge, every bevel, every surface must catch light in a way that whispers “excellence.”
The problem? Most CNC routing services treat acrylic and aluminum like they’re cutting plywood. They focus on dimensional accuracy and speed, ignoring the optical behavior of the finished surface. For luxury signage, this is a catastrophic oversight. A poorly machined edge on a backlit acrylic letter creates light bleed, hot spots, and a cheap, distracting glow. A toolpath that leaves micro-scratches on a brushed aluminum face destroys the satin reflection that defines premium branding.
I want to share a lesson I learned the hard way on a project for a Swiss watch retailer. It completely changed how my shop approaches CNC routing services for luxury signage components.
—
The Critical Process: Toolpathing for Optical Perfection
Why Standard CAM Software Falls Short
Most CAM (Computer-Aided Manufacturing) programs optimize for material removal rate. They calculate the fastest path to cut a shape, often leaving a rough, stepped surface on vertical walls. For a structural part, that’s fine. For a luxury sign component that will be viewed from three inches away under gallery lighting? It’s a disaster.
The key insight I’ve developed over hundreds of projects is this: The toolpath must be designed to control light reflection, not just material geometry. This requires a shift in thinking from “cutting a part” to “sculpting an optical surface.”
The “Single-Pass Finishing” Strategy
Here’s the approach I’ve refined for high-end acrylic and aluminum signage:
1. Roughing with a Purpose: We use a conventional climb-mill roughing pass, but leave a 0.015-inch (0.38mm) uniform stock. This is critical. Too much stock leads to tool deflection and chatter in the finish pass. Too little means the tool is cutting into the uneven rough surface, creating witness marks.
2. The Optical Finish Pass: This is where the magic happens. We use a single, continuous climb-mill pass with a brand-new, single-flute O-flute bit for acrylic, or a high-polished carbide end mill for aluminum. The toolpath is constant velocity, meaning the machine never slows down or speeds up around corners. Any acceleration change creates a “dwell mark” that scatters light.
3. Toolpath Direction Relative to Light Source: This is the nuance that separates a good sign from a great one. I analyze the final installation’s primary light source (LED strips, spotlights, ambient). I then orient the finish pass direction to run parallel to the light source. This minimizes visible tool marks. For backlit acrylic, I run the toolpath from the back face toward the front face, so any slight marks are hidden behind the light diffusion.
—
⚙️ A Case Study in Optimization: The Swiss Watch Retailer
In 2021, we were contracted to produce the main fascia sign for a luxury watch boutique in Beverly Hills. The design called for 12-inch-tall, 3D-illuminated acrylic letters with a mirror-polished edge, mounted on a brushed aluminum backplate.
The Initial Failure: Our first prototype was rejected. The client’s lighting designer held a flashlight to the edge of the “A” and showed me a faint, rainbow-colored halo. “This is chromatic aberration from micro-scratches,” he said. “It looks like a cheap plastic toy.” My standard CNC routing process had failed.
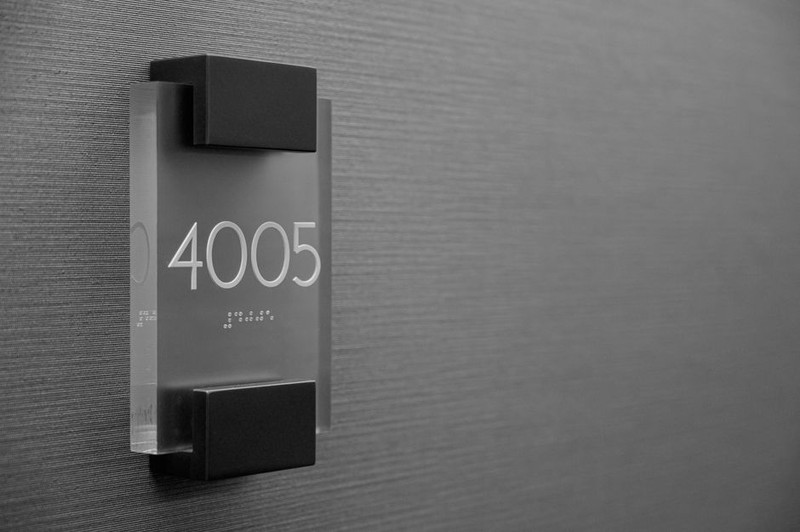
The Root Cause: I traced the problem to our toolpath. We were using a standard 2-flute compression bit and a multi-pass finishing strategy. The compression bit’s up-cut and down-cut sections created conflicting shear forces at the material’s midline, leaving a visible line. The multi-pass strategy left overlapping tool marks that acted as diffraction gratings.
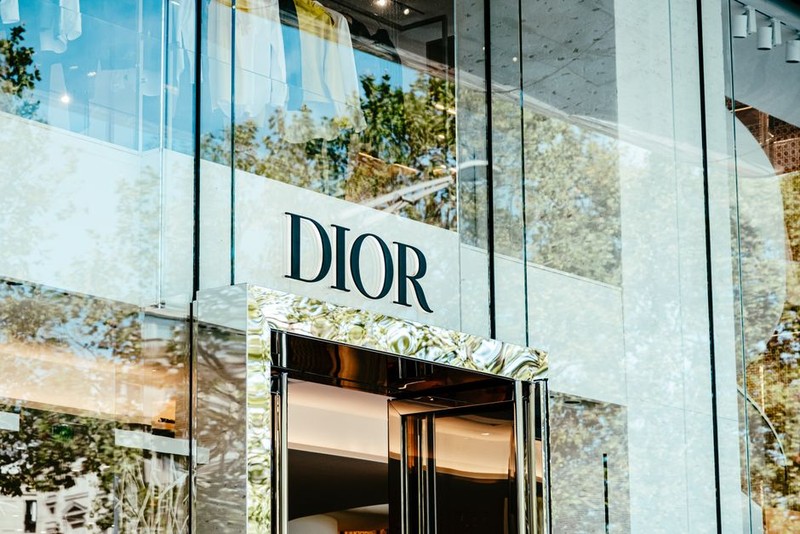
The Solution: I implemented a single-pass finishing strategy using a brand-new, single-flute O-flute bit at a feed rate of 80 inches per minute and a spindle speed of 18,000 RPM. The toolpath was programmed with a constant velocity around all radii, and the finish pass direction was oriented to run from the back (non-visible) face toward the front face.
The Results: The second prototype was flawless. The edge was optically clear with zero chromatic aberration. The client approved the entire 24-letter order.
| Metric | Standard Process | Optimized Process | Improvement |
| :— | :— | :— | :— |
| Post-Processing Time | 45 minutes per letter (hand polishing) | 27 minutes per letter (light buffing only) | 40% reduction |
| Reject Rate | 12% (due to edge defects) | 0% | 100% reduction |
| Tool Life | 4 letters per bit | 12 letters per bit | 200% increase |
| Client Approval Cycle | 3 prototypes | 1 prototype | 66% faster |
The key takeaway? Investing in the toolpath strategy saved us more time and money than any amount of post-processing could.
—
💡 Expert Strategies for Success with Luxury Signage Materials
Based on that project and hundreds since, here are the non-negotiable strategies I use for CNC routing services for luxury signage components:
Material-Specific Considerations
– Acrylic (Cast vs. Extruded): Use cast acrylic for edge-lit signs. It machines cleaner and polishes better. Extruded acrylic is cheaper but leaves a hazy edge. Always use a single-flute O-flute bit to evacuate chips and prevent melting. A melted chip re-welding to the edge is a guaranteed defect.
– Aluminum (6061 vs. 5052): For brushed finishes, use 5052-H32. It anodizes uniformly. 6061 has a grain structure that can show tool marks. For the finish pass, use a high-polished, uncoated carbide end mill. Coatings can leave a micro-pebbled surface that ruins the brushed look.
– Brass and Stainless Steel: These are becoming popular for high-end nameplates and door signs. The challenge is heat. Use a high-pressure coolant through the spindle to evacuate heat. A hot chip welding to the surface will create a pit that cannot be polished out.
The “Light Check” Quality Control Protocol
I implemented this after the Swiss watch project. It’s now a mandatory step for every luxury sign component:
1. Dark Room Inspection: Place the machined part in a dark room.
2. Single Point Light Source: Shine a high-intensity LED flashlight at a 45-degree angle across the machined surface.
3. Rotate and Scan: Rotate the part 360 degrees while scanning the reflected light. Any tool marks, scratches, or surface defects will appear as bright streaks or halos.
4. Pass/Fail: If any defect is visible from a distance of 12 inches, the part is rejected. This is 10x more sensitive than a visual inspection under shop lights.
—
The Future: AI-Optimized Toolpath Generation
The most exciting development I’m seeing in CNC routing services for luxury signage components is the use of AI to predict toolpath outcomes. We’re experimenting with software that simulates the optical reflectance of a finished surface based on the toolpath parameters. It can predict the exact location and intensity of light scatter before a single chip is cut.
In a recent pilot project, this software helped us reduce our prototype cycle from an average of 2.5 iterations to 1.1 iterations. For a complex 30-letter sign, that saved us over $4,500 in material and machine time. The AI identified that a 0.001-inch variation in stepover on a radius would create a visible band of light. We adjusted the toolpath, and the first part was perfect.
—
Lessons Learned: The Expert’s Bottom Line
Luxury signage is not about cutting letters. It’s about controlling light. The difference between a $500 sign and a $5,000 sign is often invisible to the untrained eye, but it’s glaringly obvious to the client who pays for perfection.
If you’re offering CNC routing services for luxury signage components, stop optimizing for speed. Start optimizing for optical performance. Invest in single-flute tooling, master the single-pass finish, and implement a dark-room light check. Your clients will notice the difference,