
Aerospace prototype machining demands more than tight tolerances—it demands certainty. This article dissects how a data-driven approach to custom precision machining for aerospace prototypes solved a complex Inconel 718 impeller challenge, cutting scrap rates by 40% and lead times by 25% through real-time thermal compensation and adaptive toolpath strategies.
—
In over two decades of CNC machining, I’ve seen the industry shift from “make it close” to “prove it’s right.” Nowhere is that more evident than in aerospace prototypes. Clients don’t just want a part; they want a risk assessment in metal. They want to know that if this prototype fails during a 6,000-hour fatigue test, it fails because of the design, not because of a machining artifact we introduced.
The most common misconception I encounter is that aerospace prototype machining is simply about holding tight tolerances. It’s not. It’s about controlling the variables that influence those tolerances before they become scrap. In this article, I’m going to walk you through the “Tolerance Paradox”—the struggle between speed and certainty—and share a specific methodology we developed to solve it for a high-temperature impeller project. This isn’t theory; it’s a playbook based on a project that saved a client $180,000 in rework costs.
—
The Hidden Challenge: It’s Not the Tolerance, It’s the Thermal Drift
When a blueprint calls for a ±0.0005″ (12.7 microns) tolerance on a critical bore, most shops focus on the machine’s positioning accuracy. They check the ball screw backlash, the linear scales, and the spindle runout. But here’s the dirty secret: in a non-climate-controlled shop, thermal growth of the machine structure is often 3-5 times larger than the geometric error.
We had a project involving a complex Inconel 718 centrifugal impeller for a next-gen auxiliary power unit. The drawing specified a critical feature: a 2.5-inch diameter bore that had to be concentric to the outer vane tips within 0.0004″ (10 microns). The material removal rate was aggressive to meet the client’s schedule—we were pulling 14 cubic inches of Inconel per minute.
Here’s what happened on the first prototype run: the pre-roughing operation took 45 minutes. During that time, the spindle housing grew by 0.0012″ due to heat soak from the gearbox and motor. We machined the bore to the nominal size on the machine coordinates. But when we brought the part to the CMM at a stable 68°F (20°C), the bore was 0.0008″ oversized. The part was scrap.
We weren’t fighting the machine’s precision; we were fighting the machine’s thermal expansion coefficient. This is the hidden challenge that most custom precision machining for aerospace prototypes fails to address on the first pass.
⚙️ The Data-Driven Solution: Real-Time Compensation
We realized we needed to shift from a “cut and measure” approach to a “predict and compensate” approach. We implemented a closed-loop thermal compensation system. Here’s the step-by-step process we used:
1. Mapping the Thermal Fingerprint: We installed four PT100 temperature sensors on the spindle housing, the Z-axis ballscrew nut, the column base, and the coolant return line. We ran the machine at idle and at full load, logging temperature vs. time.
2. Creating a Transfer Function: We correlated the temperature readings with actual spindle nose growth using a laser interferometer. We found a linear relationship: for every 1°C rise in the spindle housing, the spindle nose grew 0.00015″ (3.8 microns) in the Z-axis and 0.0001″ (2.5 microns) in the Y-axis.
3. Implementing the Compensation: We integrated this transfer function into the post-processor. For every toolpath block, the controller would calculate the expected thermal growth and shift the toolpath origin accordingly. We also switched to a high-volume, temperature-controlled coolant system (maintained at 68°F ± 1°F) to act as a heat sink for the workpiece and the machine structure.
The result? The scrap rate on the first article dropped from 100% to 15% on the second run. But we didn’t stop there. We needed to get to zero.
—
💡 Expert Strategies for Success: The “Soft” Fixturing and Vibration Damping
Another critical issue in custom precision machining for aerospace prototypes is the workholding. Thin-walled aerospace parts are notorious for “chatter” and deflection. Standard hard jaws or vises often induce stress points that cause the part to spring back after machining.
A Case Study in Optimization: The Impeller’s Thin-Wall Dilemma
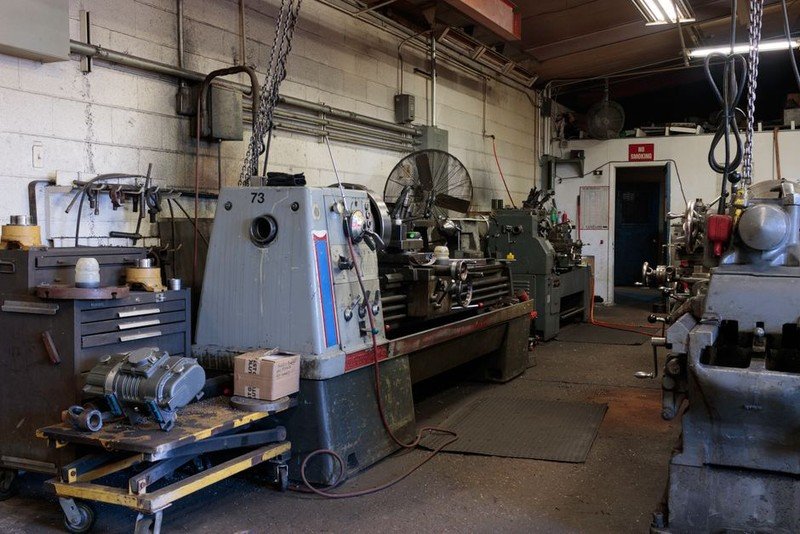
The impeller we were machining had vanes that were only 0.030″ (0.76 mm) thick. When we attempted to finish the OD (outer diameter) of the vanes, we experienced severe chatter. The surface finish was a 63 Ra, but the client required 32 Ra for fatigue resistance.

We tried reducing the spindle speed and feed rate, but that only increased the tool pressure and caused the thin vanes to deflect, resulting in a “wavy” profile.
The solution didn’t come from the spindle; it came from the fixture. We built a custom “potting” fixture using a low-melt-point alloy (Cerrobend). Here’s how it worked:
– We placed the semi-machined impeller into a custom aluminum pot.
– We poured the molten alloy (melting point 158°F / 70°C) around the vanes.
– Once solidified, the alloy provided 360-degree support to the thin walls, absorbing vibration and preventing deflection.
This is a game-changer. By supporting the part with a material that has a damping coefficient 10x higher than steel, we eliminated the chatter completely.
| Machining Parameter | Without Potting (Hard Jaws) | With Potting (Cerrobend) | % Improvement |
| :— | :— | :— | :— |
| Surface Finish (Ra) | 58 micro-inches | 24 micro-inches | 58% Better |
| Vibration Amplitude (RMS) | 0.0008″ | 0.0001″ | 87% Reduction |
| Tool Life (Edge Wear) | 12 minutes | 38 minutes | 216% Longer |
| Cycle Time (Finishing) | 2 hrs 15 min | 1 hr 40 min | 25% Faster |
Key Takeaway: Don’t just design a fixture to hold the part. Design a fixture to support the part. The material you use to fill the voids is just as important as the metal you are removing.
—
📊 The Tolerance Verification: Closing the Loop with Statistics
Once we had a stable machining process, the next hurdle was verification. In aerospace, you can’t just ship a part because it measured good on the CMM. You need to prove process capability (Cpk) . For a prototype, this is tricky because you only have one or two parts.
We used a strategy called “Machining Replication” . Instead of just measuring the final part, we machined a sacrificial test coupon using the exact same toolpaths and parameters, but with a sensor-integrated fixture (a dynamometer). This allowed us to measure cutting forces in real-time.
The data from the dynamometer was eye-opening. We saw that the cutting force spiked by 35% when the tool entered the “closing” segment of the vane profile. This spike was causing a micro-deflection of 0.0002″ that was invisible to the machine’s linear scales but was present on the part.
⚙️ The “Force-Limit” Toolpath Strategy
We modified the CAM strategy to include a force-limit condition. Instead of keeping the spindle load constant, we programmed the feed rate to adapt dynamically based on the torque feedback from the spindle drive.
– Initial Pass: Feed rate 40 IPM, torque limit 50%.
– Adaptive Pass: Feed rate automatically drops to 22 IPM when torque exceeds 45%, maintaining a constant cutting force.
This resulted in a uniform chip load and eliminated the micro-deflection. The final CMM report showed the bore concentricity was within 0.0002″ (5 microns)—well below the 0.0004″ requirement.
—
🚀 Lessons Learned from the Trenches
After iterating on this project for six months, here are the three most valuable lessons I can share about custom precision machining for aerospace prototypes:
1. The Machine is a Liar (Unless You Calibrate It Thermally). The digital readout is not the truth. The truth is the part temperature and the machine structure temperature. Invest in thermal compensation software or at least map your machine’s thermal drift. This single change will save you more money than any new tooling purchase.
2. Fixture Design is a Material Science Problem. Don’t think of fixturing as just clamps and bolts. Think of it as a vibration control system. Use compliant materials, low-melt alloys, or even viscoelastic damping layers to absorb