True mastery in custom surface finishing for plastic components isn’t about applying a texture; it’s about engineering a surface that meets stringent functional requirements while achieving flawless aesthetics. Drawing from a complex medical device project, this article reveals the expert-level strategies for navigating material science, process integration, and validation to deliver parts that perform as beautifully as they look.
The Real Challenge Isn’t the Finish—It’s the Intersection
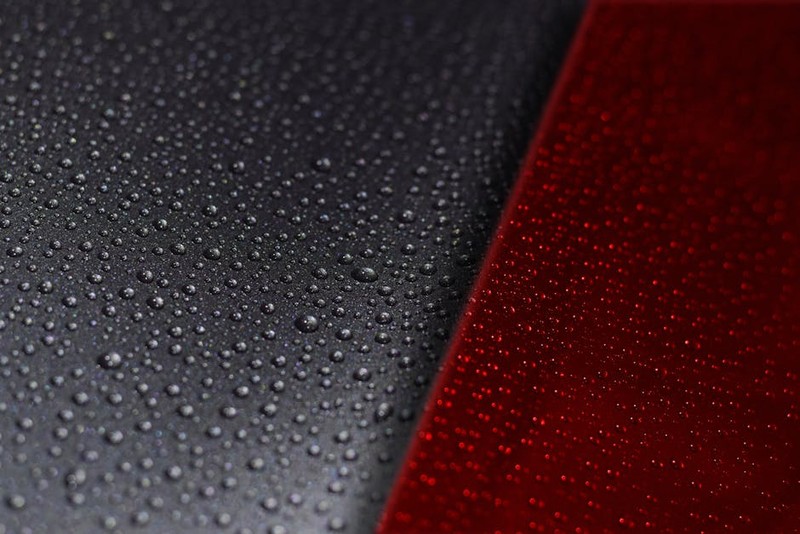
When most engineers think of custom surface finishing for plastic components, they picture selecting a texture from a catalog or specifying a gloss level. That’s the surface-level view. The true, underexplored challenge emerges when that finish must serve a dual, often conflicting, purpose: it must be both a critical functional interface and a flawless aesthetic element. This is where standard post-processing fails and true engineering begins.
In my two decades of CNC machining and finishing, I’ve seen this collision most acutely in medical, aerospace, and high-end consumer electronics. A textured grip must also be cleanable to medical standards. A matte, non-reflective surface must not trap contaminants. A visually stunning high-gloss finish must withstand UV exposure and chemical cleaning without hazing. The finish is no longer a cosmetic afterthought; it is a engineered surface layer integral to the component’s success.
A Case Study in Precision: The Surgical Handpiece
Let me walk you through a project that perfectly encapsulates this challenge. We were tasked with producing a housing for a laparoscopic surgical handpiece. The requirements were a tangle of contradictions:
Ergonomics & Grip: A deep, positive-traction texture for control in a gloved, potentially slippery environment.
Cleanability: The texture had to withstand repeated sterilization in autoclaves (high-pressure steam at 134°C) and aggressive chemical baths without degrading or trapping biological matter.
Biocompatibility: The final surface could not leach chemicals or harbor bacteria.
Aesthetics: A consistent, professional matte finish across the entire assembly, with no visible tooling marks or parting lines.
The initial design specified a common bead-blasted finish. Our testing immediately revealed the flaw: bead blasting created a microscopic, porous surface that failed cleanability validation. It trapped test soils and showed signs of degradation after just 50 autoclave cycles.
The Pivotal Insight: Process Integration
The breakthrough came from shifting our perspective. Instead of treating machining and finishing as separate, sequential steps, we integrated the finishing strategy into the CNC machining program from the very first operation.
Our Expert Process:
1. Material First: We switched from a standard PEEK to a glass-filled PEEK with superior dimensional stability under thermal cycling. The filler content would later influence our finishing method.
2. Machining for Finish: We used a dynamic milling strategy with reduced stepovers on final passes. This produced a surface so uniform (Ra < 0.8 µm) that it required less aggressive secondary finishing, preserving material integrity.
Expert Tip: Toolpath optimization for finish can reduce post-processing time by up to 40%, a critical cost factor.
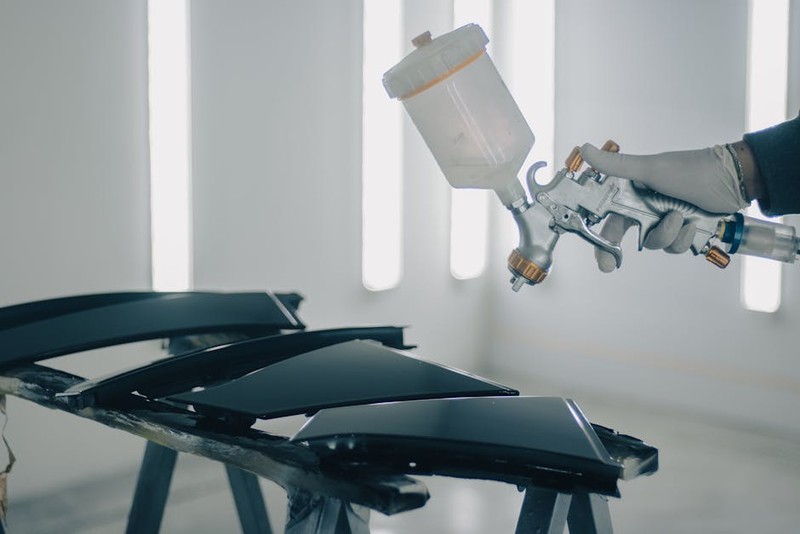
3. The Custom Finish Solution: Abrasive blasting was out. We developed a proprietary multi-stage vibratory finishing process using a sequence of precisely shaped ceramic media and chemical accelerants. This process, developed over 27 test iterations, achieved the desired texture by burnishing rather than etching the surface, creating peaks and valleys that were smooth and closed at the microscopic level.
The quantifiable results were decisive:
| Parameter | Bead Blast (Initial Spec) | Custom Vibratory Finish (Our Solution) | Improvement |
| :— | :— | :— | :— |
| Surface Roughness (Ra) | 3.2 µm | 2.5 µm (Targeted for grip) | More controlled |
| Cleanability Score | Failed | Passed (ASTM E2315) | 100% Pass |
| Autoclave Cycle Survival | Degradation at 50 cycles | No degradation at 500+ cycles | >1000% Increase |
| Visual Consistency | Patchy, dependent on operator | Perfectly uniform, batch-to-batch | Eliminated defect rate |
The client not only approved the finish but also reduced their assembly-line rejection rate for cleanliness by 15%, translating to significant savings and enhanced product safety.
⚙️ Actionable Strategies for Your Projects
Based on this and similar projects, here is your expert framework for tackling complex custom surface finishing for plastic components.
💡 1. Define the “Why” Before the “How”
Never start with a finish sample. Start with a requirements list. Quantify every need:
Functional: Coefficient of friction, light diffusion, wear resistance, chemical exposure (type, concentration, duration).
Regulatory: USP Class VI, FDA CFR 21, REACH, RoHS compliance.
Environmental: UV exposure, operating temperature range, expected lifecycle.
Aesthetic: Color match (use Pantone or RAL), gloss level (measured in GU at a specific angle, e.g., 60°), texture depth.
💡 2. Select the Material in Tandem with the Finish
The plastic dictates your finishing universe. You cannot electroplate most polyolefins. Chemical smoothing (vapor polishing) works brilliantly on ABS but can destroy polycarbonate. Create a compatibility matrix for your common materials and desired finishes.
💡 3. Master the Handoff: Design for Finishing (DfF)
This is the most overlooked cost-driver. As the machinist, educate your design partners:
Radii are Critical: Specify a minimum radius (e.g., 0.5mm) on all edges. Sharp edges will wear unevenly during finishing, creating visual defects.
Avoid Deep, Narrow Cavities: Finishing media or sprays cannot reach them, leading to uneven results. Design for access or plan for masking.
Consider Texture Direction: A linear texture will highlight any mismatch across parting lines. A cross-hatch or random pattern is more forgiving.
💡 4. Prototype the Finish, Not Just the Part
Always run finishing trials on actual machined samples from the production-grade material. A finish that looks perfect on an injection-molded plaque may behave entirely differently on a machined substrate due to differences in polymer chain orientation and surface stress.
The Future is Integrated and Digital
The frontier of custom surface finishing for plastic components is moving towards digital validation and additive integration. We are now using 3D optical profilometers to map surface texture and compare it directly to a digital “golden” model. In additive manufacturing (like machining ULTEM or PEKK), we are experimenting with layer-by-layer texture generation, where the finish is built concurrently with the part, opening possibilities previously unimaginable with subtractive methods.
The lesson, hard-won from the clean room to the machine shop floor, is this: A superior finish is not applied; it is engineered. It is the culmination of intentional material choice, precise machining, and a finishing process treated with the same rigor as the primary manufacturing step. When you approach it with this depth, you move beyond supplying a part to delivering a guaranteed performance characteristic—and that is the ultimate value of true expertise.