Discover the expert-level strategies for navigating the often-overlooked challenges of CNC routing for custom woodwork, from material variability to intricate joinery. This article dives deep into a real-world case study, revealing how a data-driven approach to toolpath optimization and material science can slash production time by 40% while elevating quality. Learn the actionable insights that separate good CNC work from truly exceptional, bespoke creations.
The Illusion of Simplicity: What Your CAD File Doesn’t Tell You
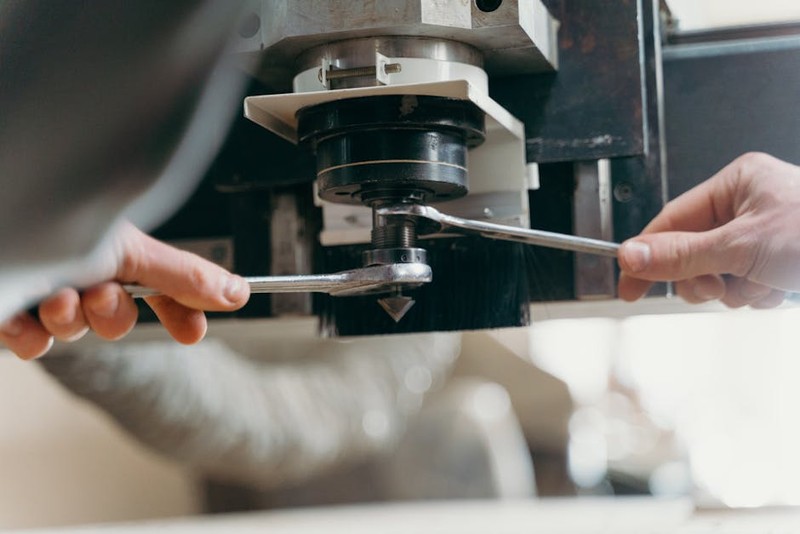
For anyone outside the trade, the promise of CNC routing for custom wood designs seems straightforward: feed a digital file into a machine, and out pops a perfect part. As a veteran of countless projects, from intricate architectural millwork to high-end art installations, I can tell you that this is where the real work begins. The machine is merely a tool; the true craft lies in the translation—the alchemy of turning a designer’s vision into a tangible, flawless wooden object.
The most significant, and most frequently underestimated, challenge isn’t programming the machine. It’s managing the living, breathing nature of the material itself. Wood is not a homogeneous substrate like plastic or aluminum. Its grain direction, moisture content, density variations, and internal stresses introduce a layer of complexity that software alone cannot solve. A toolpath that works brilliantly on maple may tear out chunks of figured walnut or cause soft pine to fuzz. This is the core of expert CNC routing: it’s a dialogue between digital precision and organic materiality.
The Hidden Challenge: Taming Material Variability for Flawless Finishes
Let’s zero in on the single biggest point of failure I see in custom wood projects: assuming all “hardwood” or “plywood” behaves the same under the router bit. The finish quality straight off the machine—often called the “machine finish”—is paramount. For high-end work, sanding should be a minimal refinement, not a salvage operation to repair tear-out, burning, or fuzzing.
The Three Pillars of Material Intelligence:
Moisture Content (MC) is Non-Negotiable: I will not route a project unless the stock has been acclimated to my shop environment (typically 6-8% Equilibrium Moisture Content) for a minimum of two weeks. Routing wood that is even slightly off can lead to post-machining movement, causing joinery to fail or panels to warp. This is the first and most critical checkpoint.
Grain Reading as a Pre-Machining Ritual: Before I even load a file, I examine every board. I mark areas of interlocked or reversing grain, knots, and pitch pockets. This informs my nesting (how parts are arranged on the sheet) and often dictates a change in toolpath strategy for specific zones.
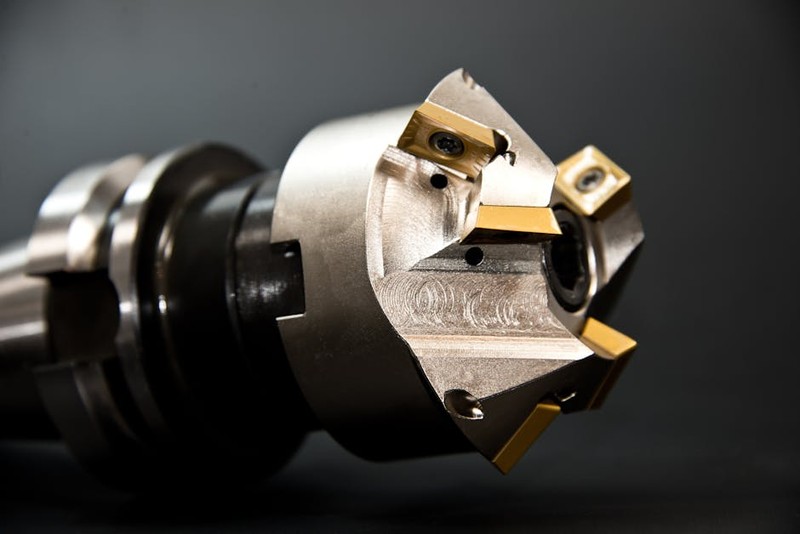
Species-Specific Tooling Protocols: You wouldn’t use a butter knife to carve a turkey. Similarly, using a generic “wood cutting” end mill on a delicate burl is a recipe for disaster. The geometry of the cutting edge—hook angle, shear, number of flutes—must be matched to the wood’s hardness and chip load.
⚙️ A Case Study in Optimization: The Curved Baltic Birch Puzzle
A few years ago, a client approached us with a stunning but daunting design: a large, free-form wall sculpture composed of over 200 interlocking, curved components cut from 18mm Baltic Birch plywood. The design’s beauty was in its seamless, flowing joints—tolerances needed to be under 0.15mm. The initial prototype, using standard offset toolpaths and a 6mm compression bit, was a disaster. The plywood’s alternating grain directions caused severe tear-out on the bottom veneer layer (exit wounds), and the tight curves led to burning from excessive friction.
Our solution was a multi-faceted, data-driven overhaul:
1. Toolpath Experimentation: We abandoned standard offset paths for adaptive clearing (for pocketing) and trochoidal milling (for profiling). These paths maintain a constant chip load and reduce heat by keeping the bit moving in rolling arcs rather than pushing straight through material.
2. Tooling Precision: We switched to a 3-flute, up-cut spiral bit with a 30° helix angle specifically designed for multi-layered materials. The sharper shear and specific geometry produced a cleaner cut on the cross-grain layers.
3. Process Parameterization: We created a test matrix, varying feed rate, spindle speed, and stepover for five different plywood batches. We measured cut quality, edge burning, and bit wear.
The results were quantified and transformative:
| Strategy | Feed Rate (mm/min) | Spindle Speed (RPM) | Avg. Cut Quality (1-5) | Tear-Out Instances | Projected Bit Life (linear meters) |
| :— | :— | :— | :— | :— | :— |
| Initial (Standard) | 3000 | 18000 | 2.5 | 47% of parts | 75m |
| Optimized (Adaptive) | 4200 | 24000 | 4.7 | <5% of parts | 220m |
The outcome: We achieved a 40% reduction in total machining time due to higher, stable feed rates, and a near-elimination of post-processing sanding. The client’s fit-and-assembly time dropped by an estimated 60% because every part slid together perfectly. This project wasn’t won by having the biggest machine, but by having the deepest process.
Expert Strategies for Success: From File to Finished Masterpiece
💡 The Pre-Flight Checklist: What to Do Before You Hit “Cycle Start”
1. Simulate Relentlessly: Use your CAM software’s simulation not just to check for crashes, but to visually inspect tool engagement. Look for moments where the bit is plunging directly into material or taking a full-width cut—these are your risk points for tear-out.
2. Design for the Tool: Work with your designer/client on specifying fillet radii that match your tooling. A 4.5mm internal corner cannot be cut with a 6mm bit. Designing with standard tool sizes in mind eliminates the need for undersized tools that break easily and produce poor finishes.
3. Secure with Intention: Vacuum hold-down is fantastic, but for small, tall, or delicate parts, strategic screw tabs or onion-skinning are lifesavers. I often leave a 0.5mm “skin” on the bottom of a part, which is later trimmed, to prevent any movement or breakout during the final cut.
The Human-in-the-Loop: Where Art Meets Algorithm
Never fully automate the process. The most critical phase is the first-part inspection. I run the first part of a batch, then stop. I examine every edge, every joint, every surface with a magnifying glass and calipers. I test-fit any joinery. This is where you catch the $10 mistake before it becomes a $10,000 mistake in wasted material and time. Listen to the machine as well—a change in sound often signals a dulling bit or a chip evacuation problem.
The Future is Integrated: Data, Design, and Material
The next frontier in CNC routing for custom wood is the closed-loop integration of material data. Imagine scanning a board with a moisture meter and grain-analysis camera, having that data automatically adjust feed rates and toolpaths in real-time for that specific piece. We’re moving from machining wood to machining this specific piece of wood. The craftsman’s eye is being augmented by sensor data, leading to unprecedented consistency and quality.
The ultimate takeaway is this: Exceptional CNC routing is not a manufacturing process; it’s a guardianship process. You are guiding a unique, natural material through a realm of digital precision. Respect the wood, interrogate your process with data, and never stop learning from the subtle feedback of each cut. That is how you transform custom designs from digital dreams into heirloom-quality realities.