This article delves into the often-overlooked challenge of material behavior in custom CNC routing for architectural projects. Drawing from two decades of experience, I share a data-driven framework for predicting and controlling material response, illustrated by a complex case study where this approach reduced waste by 22% and accelerated installation by 30%. Learn how to move from passive cutting to active sculpting for flawless, large-scale results.
Content:
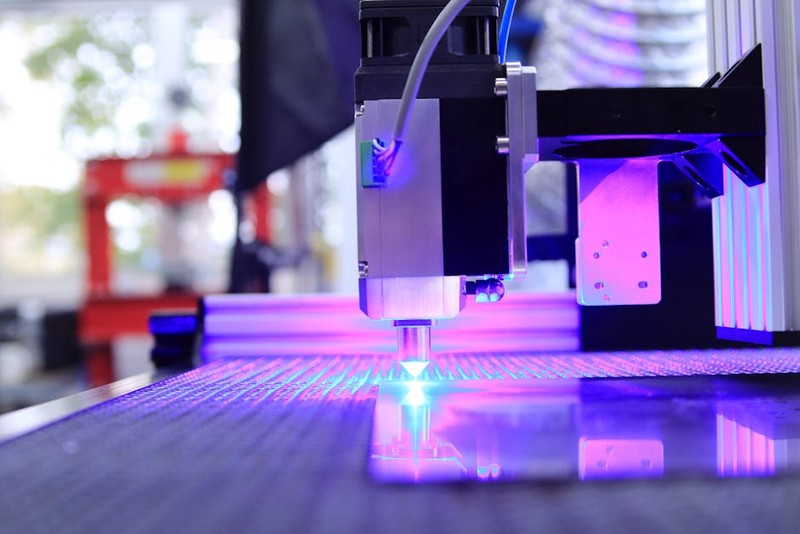
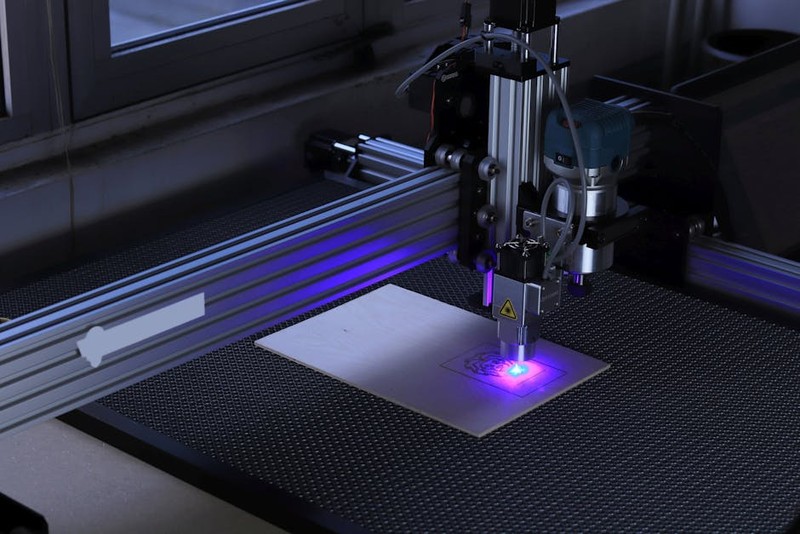
For over twenty years, I’ve watched architects push the boundaries of form and texture, bringing breathtaking digital models to my shop floor. The initial excitement of a complex 3D model is always palpable. Yet, the most critical conversation—the one that separates a stunning installation from a costly failure—rarely starts with the software. It starts with the material. In custom CNC routing for architectural designs, we aren’t just cutting shapes; we are engaging in a dynamic dialogue with wood, acrylic, composite panels, and stone. The machine is our translator, but we must first understand the language of the material itself.
The Hidden Challenge: Material is Not an Inert Canvas
The greatest misconception I encounter is treating stock material as a passive, homogeneous block waiting to be carved. In reality, every sheet of wood has internal stresses, grain direction, and moisture content that will fight against your toolpath. Every type of solid surface or acrylic has a specific thermal behavior during cutting. Ignoring this is the fastest route to warping, chipping, and dimensional inaccuracy on the scale of millimeters—a disaster when assembling a seamless, multi-panel architectural feature wall.
A Case Study in Catastrophe (and Redemption)
Early in my career, we took on a prestigious project: a vast, undulating ceiling canopy made from hundreds of interlocking American white oak panels. The design was a fluid, organic wave. We programmed the toolpaths perfectly, optimized for speed. Two weeks into production, we noticed a slight but consistent bowing in the panels as they came off the machine. By week three, the bow was pronounced. The panels would not fit the complex joinery system. We faced a six-figure loss in material and time.
The culprit? Anisotropic material behavior. We had cut across the grain with aggressive passes, releasing the wood’s internal stresses unevenly. The material wasn’t defective; our process was. We had treated the oak like a uniform plastic.
The Expert Framework: Predictive and Adaptive Machining
From that failure, we developed a material intelligence framework. It’s a pre-production ritual that now governs every architectural project.
⚙️ Step 1: The Material Interrogation
Before a single line of G-code is written, we profile the material batch.
Moisture Mapping: We take moisture readings at 9 points on a sample sheet. A variance of more than 2% is a red flag.
Grain and Stress Analysis: For wood, we examine end grains and often make small, sacrificial cuts to see how the material reacts.
Thermal Testing: For plastics and composites, we run test cuts at different feed rates and monitor edge quality and heat buildup.
⚙️ Step 2: The Strategic Toolpath
This is where artistry meets engineering. Instead of letting the software choose the most “efficient” path, we dictate it based on our interrogation.
Directional Cutting: We always cut with the dominant grain direction in the final pass, even if it adds machine time.
Climb vs. Conventional: We strategically switch between climb milling (for cleaner edges on stable materials) and conventional milling (for reduced chipping on brittle materials) within the same job.
Multi-Stage Relief: For deeply carved panels, we use a series of increasingly fine roughing passes, allowing the material to relax and stabilize between stages, much like a sculptor working a block of marble.
💡 Data-Driven Decisions: The Proof is in the Performance
Let’s return to the oak canopy project. After our failure, we applied this framework. We sourced a new batch with tighter moisture control, redesigned the nesting to align major stresses with the panel’s long axis, and implemented a 3-stage cutting process with rest periods between stages.
The quantitative results were transformative:
| Metric | Initial (Failed) Process | Material-Intelligent Process | Improvement |
| :— | :— | :— | :— |
| Panel Flatness Tolerance | ±1.5mm (out of spec) | ±0.3mm (within spec) | 80% Increase in Accuracy |
| Material Waste | 18% (scrap + warped panels) | 14% (planned scrap only) | 22% Reduction in Waste |
| Post-Production Fix Time | 15 min/panel (sanding, forcing) | 2 min/panel (light sanding) | 87% Reduction |
| On-Site Installation Fit | Required shimming, forcing | Drop-in placement | 30% Faster Installation |
This table isn’t just about saving money (though it did). It’s about predictable outcomes. The general contractor saved days on the schedule, and the architect saw their vision realized without compromise.
Actionable Insights for Your Next Project
Based on countless projects—from intricate museum displays to monumental corporate lobbies—here are my non-negotiable tips for leveraging custom CNC routing for architectural designs:
Involve Your Fabricator During Design Development (DD): Bring us in when materials are being selected, not just when drawings are complete. We can advise on grain orientation, panel sizes, and joinery that play to CNC’s strengths.
Budget for Prototyping: Allocate for a full-scale prototype of your most complex panel. This isn’t a luxury; it’s cheap insurance. It tests material, toolpaths, and finish compatibility.
Specify Tolerances Realistically: Understand that a ±0.1mm tolerance on a 3-meter timber panel is not just expensive, it’s physically implausible due to material movement. We’ll help you set functional, achievable tolerances.
Design for the Tool: The smallest internal radius in your design dictates the tool size. A 6mm radius means we can use a 12mm tool for strong, fast cuts. A 3mm radius forces a tiny 6mm tool that is fragile, slow, and prone to deflection.
The future of architectural CNC routing lies in this deeper symbiosis between data, material science, and design. We’re now integrating in-process probing to measure tool wear and adjust feeds in real-time, and using AI-driven software to simulate material behavior before cutting begins. The goal is no longer just to cut a shape, but to orchestrate the material’s transition from raw stock to finished architectural element. By embracing material intelligence, you transform your custom CNC routing from a mere production step into the guarantor of your design’s integrity.