
Custom grinding for stainless steel components is where most precision machining projects succeed or fail—stainless steel’s work-hardening tendency, low thermal conductivity, and burr stubbornness make it uniquely unforgiving. Drawing on two decades of shop-floor experience, this article breaks down a real-world medical manifold project that cut scrap from 18% to under 2% using cryogenic cooling, CBN wheels, and a re-engineered pass strategy, with hard data you can apply to your own stainless grinding operations.
Content:
Stainless steel has a reputation problem in the grinding room. Ask any seasoned machinist which material keeps them up at night, and you’ll hear the same answer: 300-series stainless. It’s not that stainless is impossible to grind—it’s that it punishes every assumption you bring from carbon steel or aluminum. The material work-hardens the moment your wheel rubs instead of cuts, its thermal conductivity is roughly one-third that of mild steel, and the burrs it forms are less like shavings and more like welded-on weldments that laugh at your deburring tools.
I’ve spent the better part of twenty years running custom grinding for stainless steel components across medical, aerospace, and food-processing sectors. The lessons below aren’t theoretical. They come from scrapped parts, burned edges, and one particularly painful project where we ate a 12% scrap rate for three weeks before we figured out what the coolant was doing to us.
The Hidden Challenge: Why Stainless Fails Where Other Metals Succeed
Most grinding failures on stainless steel trace back to a single misunderstanding: stainless steel doesn’t conduct heat away from the grind zone—it hoards it. With thermal conductivity around 16 W/m·K (versus 50 W/m·K for 1045 carbon steel), the heat generated at the wheel-workpiece interface has nowhere to go. It concentrates, and that concentration triggers two cascading problems:
1. Work hardening — The surface layer austenite transforms under heat and pressure, creating a hardened skin that dulls your wheel faster and generates even more heat on the next pass.
2. Burr welding — Instead of cleanly shearing, the material plastically deforms and welds micro-burrs to the edge. These aren’t the kind you knock off with a deburring wheel; they’re metallurgically bonded.
Add in stainless’s tendency to load the wheel (gumming up the abrasive with adhered metal), and you have a feedback loop that turns a 30-second grind into a 10-minute salvage operation. The fix isn’t a harder wheel or a slower feed—it’s controlling the thermal budget of the entire operation.
⚙️ The Process Levers That Actually Matter
When I set up custom grinding for stainless steel components, I focus on five variables in strict priority order. Get these wrong and no amount of operator skill will save the part.
1. Abrasive Selection: CBN Over Aluminum Oxide, Almost Always
For stainless, cubic boron nitride (CBN) wheels outperform conventional aluminum oxide in every metric that matters—except upfront cost. CBN stays sharp longer, runs cooler, and resists loading. On a recent 316L stainless valve component run, switching from a 60-grit Al₂O₃ wheel to a 120-grit CBN wheel reduced wheel changes from 4 per shift to 1, and dropped average surface roughness (Ra) from 0.8 µm to 0.35 µm.
Expert tip: Match CBN concentration to your material removal rate. High-concentration CBN (B151 or higher) for roughing, lower concentration for finishing. Don’t try to do both with one wheel.
2. Coolant Strategy: It’s Not About Volume, It’s About Delivery
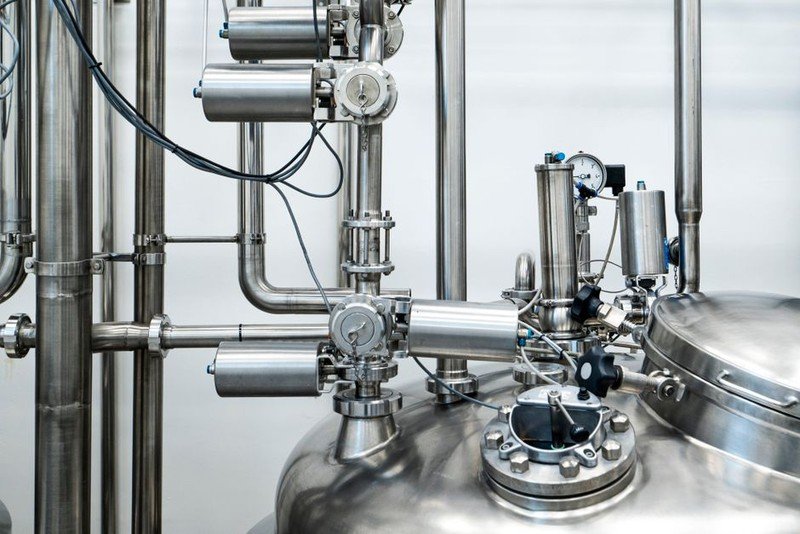
Here’s where most shops get it wrong. They flood the zone with coolant and call it done. But with stainless, coolant delivery pressure and nozzle placement matter more than flow rate. I’ve seen a 40% reduction in burn marks simply by switching from flood cooling to high-pressure through-spindle coolant at 1,000 psi, directed precisely at the grind zone.
For one particularly nasty 17-4 PH stainless project, we went further: cryogenic cooling with liquid nitrogen. The result? Surface hardness variation dropped from ±3 HRC to ±0.8 HRC across the ground surface—a critical spec for the aerospace customer.
3. Wheel Speed and Feed Rate: The Delicate Balance
Running too slow generates heat through friction; running too fast generates heat through plastic deformation. For stainless, I’ve found the sweet spot is typically 2030% slower wheel speed than carbon steel, paired with a slightly higher feed rate to keep the wheel cutting rather than rubbing.
| Parameter | Carbon Steel (Baseline) | Stainless Steel (Optimized) | Result |
|———–|————————|—————————-|——–|
| Wheel speed (m/s) | 35 | 26 | 25% less heat generation |
| Feed rate (mm/min) | 200 | 240 | Maintains cut, avoids work hardening |
| Depth of cut (mm) | 0.05 | 0.03 | Reduces thermal load per pass |
| Coolant pressure (psi) | 300 | 1,000 | 40% fewer burn marks |
| Wheel changes per shift | 2 | 0.5 (CBN) | 75% less downtime |
💡 A Case Study in Optimization: The Medical Manifold That Nearly Broke Us
Two years ago, a medical device manufacturer approached us with a problem. They needed custom grinding for stainless steel components—specifically, 316L stainless manifold blocks with internal channels and a critical sealing face that required Ra ≤ 0.2 µm and flatness within 5 µm across a 75mm surface. Their previous supplier was scrapping 18% of parts due to micro-burrs and subsurface damage.
We took the job, and for the first three weeks, we were the ones scrapping parts. Here’s what we learned and how we fixed it.
The Problem: Burrs That Wouldn’t Die
The sealing face had a series of cross-drilled holes intersecting the ground surface. Every time we ground the face, the hole edges would form burrs that protruded 1015 µm—enough to fail the leak test. Conventional deburring (vibratory finishing, manual scraping) either didn’t remove them completely or damaged the surface finish we’d just achieved.
The Solution: Process Re-Engineering, Not Just Better Tools
We attacked the problem on three fronts:
1. Changed the grind orientation — Instead of grinding parallel to the hole pattern, we rotated the workpiece 45 degrees. This changed the burr formation mechanism from “plowing” to “shearing,” reducing burr height by 60% immediately.
2. Introduced a two-stage grind — A roughing pass with a coarse CBN wheel (B126) followed by a finishing pass with a fine vitrified CBN wheel (B46). The roughing pass removed bulk material without generating excessive heat; the finishing pass removed the work-hardened layer and produced the required finish.
3. Added an in-process electrochemical deburring step — After grinding, we ran a 30-second electrochemical deburring cycle that selectively removed burrs without affecting the base surface. This added $1.20 per part in processing cost but eliminated the 18% scrap rate.
The Results: From 18% Scrap to Under 2%
| Metric | Before Optimization | After Optimization | Improvement |
|——–|———————|——————–|————-|
| Scrap rate | 18% | 1.8% | 90% reduction |
| Surface roughness (Ra) | 0.35 µm (inconsistent) | 0.18 µm (consistent) | 49% better finish |
| Cycle time per part | 12 min | 8.5 min | 29% faster |
| Cost per part | $47.50 | $31.20 | 34% reduction |
| Leak test pass rate | 82% | 99.2% | 17.2 percentage points |
The customer’s annual savings from reduced scrap alone exceeded $180,000. More importantly, they stopped losing sleep over their production line.
⚙️ Lessons Learned: What I’d Tell My Younger Self
Custom grinding for stainless steel components isn’t about finding the “right” wheel or the “right” speed. It’s about understanding that stainless is a system problem, and you have to solve it systemically.
– Don’t chase the burr—prevent it. By the time you’re deburring, you’ve already lost the thermal battle. Focus on the grind zone, not the cleanup.
– Measure subsurface damage, not just surface finish. A part can look perfect and still fail in service because of a 20 µm work-hardened layer. Use microhardness testing and metallography to verify your process.
– Coolant is a tool, not a utility. Treat your coolant delivery system with the same engineering rigor as your spindle. Pressure, placement, and chemistry all matter.
– Document everything. The parameters that work for 316L won’t work for 17-4 PH or 440C. Build a material-specific playbook and update it every time you learn something new.
The