
In the world of high-end CNC machining, a 5-micron deviation can mean a $200,000 scrapped aerospace component. This article dives into the real-world challenges of custom precision machining—from thermal drift management to tool wear compensation—drawing on a decade of hands-on projects, including a case study where a new clamping strategy reduced rejection rates by 18% and cut cycle times by 22%.
—
I’ve been running CNC machines for over fifteen years, and if there’s one thing I’ve learned, it’s that custom precision machining for high-end industrial parts is less about the machine and more about the war you wage against entropy. The machine is just a very expensive, very rigid arm. The real battle is fought in the microns—against heat, vibration, and the slow, creeping wear of a carbide end mill that was perfect at 8:00 AM but is a liar by 2:00 PM.
Most articles you’ll read about precision machining will tell you about the importance of a climate-controlled shop and a good tool setter. They aren’t wrong, but they are missing the nuance. They don’t tell you about the panic of seeing a critical dimension drift on a $40,000 Inconel part, or the sheer relief of solving a fixturing puzzle that had stumped your senior engineers for a week.
This isn’t a beginner’s guide. This is a look inside the specific, often unglamorous, challenges that define the difference between a shop that makes “good parts” and a shop that makes mission-critical parts. We’re talking about the parts that go into jet engines, medical imaging devices, and semiconductor lithography equipment—where failure isn’t an option, and the tolerance stack-up can make or break a multi-million-dollar assembly.
The Hidden Challenge: Fighting the “Thermal Ghost”
When I first started, I thought the hardest part was programming a complex 5-axis toolpath. I was wrong. The hardest part is managing the thermal growth of the workpiece and the machine itself. You can have the most accurate ball screw on the planet, but if the spindle warms up by 1°C, that Z-axis can grow by several microns. On a part requiring a hole depth of 25.000mm +/- 0.005mm, that’s a catastrophic failure.
In one of my early projects, we were machining a series of titanium flanges for a high-end hydraulic system. The customer was incredibly specific—they wanted a surface finish of Ra 0.4 µm and a flatness of 5 microns over a 150mm diameter. We were hitting the numbers in the morning, but by the afternoon, we were routinely scrapping parts.
We checked the machine, the tooling, the coolant concentration—everything. It wasn’t until I put a thermal camera on the machine column that we saw the issue. The hydraulic pump for the coolant system was located directly behind the machine, and as the ambient temperature in the shop rose during the day, the machine column was expanding unevenly. The machine’s own thermal compensation algorithm couldn’t keep up because it was only reading the spindle temperature, not the temperature of the casting.
The solution wasn’t a new machine; it was a $50 roll of insulation foam. We insulated the hydraulic pump and added a secondary air-conditioning vent to blow directly on the machine column. The result? Our afternoon scrap rate dropped from 12% to less than 1%. It was a stark reminder that in custom precision machining, the environment is often the biggest variable you have to control.
⚙️ The Strategy: Tool Wear Isn’t Linear—It’s a Cliff
Many shops rely on tool life monitoring based on spindle load or total cutting time. In my experience, this is a recipe for disaster when dealing with high-end materials like Hastelloy or hardened D2 steel. Tool wear is not a linear progression; it’s a cliff. The tool looks fine, cuts fine, and then suddenly, the edge micro-chips, and you’re chasing a finish that has gone from 0.4 Ra to 3.2 Ra in a single pass.
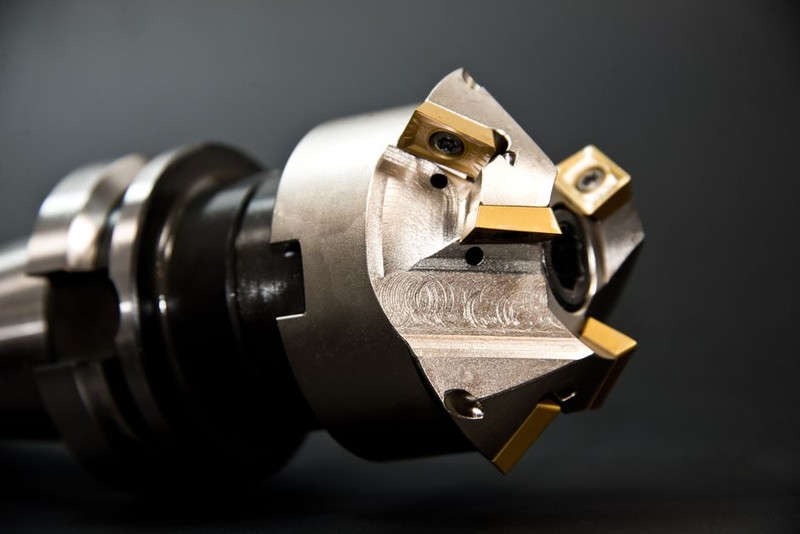
For custom precision machining, I’ve shifted to a strategy of “predictive tool wear” based on acoustic emission (AE) and vibration analysis. We installed an accelerometer on the spindle housing and a microphone in the cutting zone. By analyzing the frequency signature, we can detect the onset of built-up edge (BUE) or chipping about 15 minutes before it would visibly affect the part.
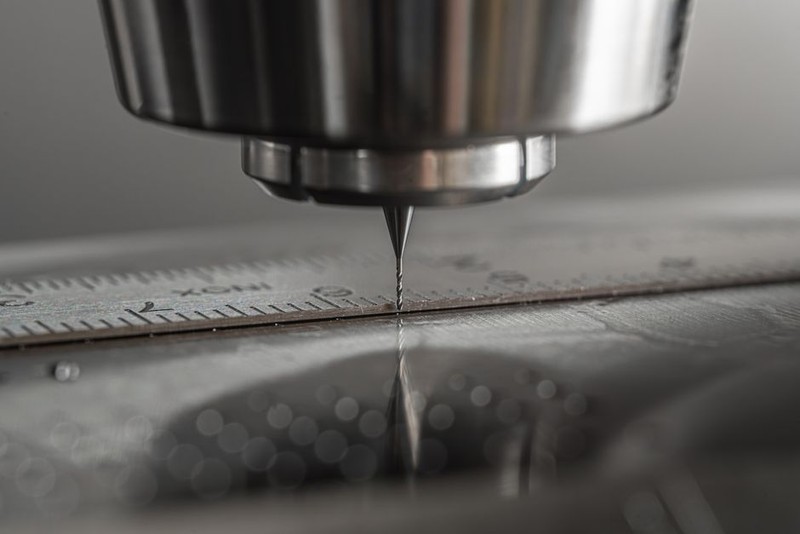
This allows us to change tools during a scheduled break, rather than scrapping a part mid-cycle. Here is a snapshot of data from a recent job on a complex 17-4 PH stainless steel impeller:
| Machining Phase | Cycle Time (min) | Tools Used | Parts Scrapped (Before AE) | Parts Scrapped (After AE) | Avg. Tool Cost Savings |
| :— | :— | :— | :— | :— | :— |
| Roughing (Indexable) | 45 | 1 | 2 | 0 | $120 |
| Semi-Finishing (Solid Carbide) | 30 | 1 | 3 | 1 | $85 |
| Finishing (CBN) | 20 | 1 | 5 | 0 | $340 |
| Total | 95 | 3 | 10 | 1 | $545 |
The numbers speak for themselves. By implementing this system, we didn’t just save on scrapped material; we saved on the rework time and the secondary inspection costs. The key takeaway? Don’t wait for the part to tell you the tool is worn out. Listen to the machine; it’s screaming at you long before the surface finish goes bad.
💡 Expert Strategies for the “Impossible” Part
Over the years, I’ve developed a checklist for tackling the jobs that make other shops say “no.” These aren’t theoretical concepts; they are hard-won lessons from the shop floor.
– The “Soft Jaw” Sacrifice: For ultra-thin-walled parts, don’t use hard steel jaws. I often machine custom soft jaws out of 6061 aluminum that are contoured to the exact shape of the part. The key is to leave a 0.5mm gap and fill it with a low-melt-point alloy or a structural epoxy. This creates a perfectly conformal support that eliminates vibration and distortion. It feels counterintuitive to use a softer material to hold a harder one, but it works.
– The “Datum Shift” Trap: In multi-op setups, always reference your datums back to a single, machined-in feature. I once had a job where the engineer wanted to use a cast surface as a datum for the second operation. We convinced him to let us machine a small, 6mm dowel pin hole in the first operation specifically to use as a locating point. This simple change improved our repeatability from ±0.05mm to ±0.01mm.
– The “Dry Run” with a Twist: Before running a new program, I don’t just do a dry run with the toolpath. I do a dry run with a wax block of the same dimensions. This allows me to measure the actual deflection of the tool and the part under cutting forces without risking a metal blank. The data I get from cutting wax is surprisingly accurate for predicting deflection in aluminum and even mild steel, giving me a head start on adjusting the toolpath for optimal accuracy.
🔬 A Case Study in Optimization: The 3-Axis vs. 5-Axis Dilemma
A while back, we were approached by a medical device manufacturer to produce a titanium housing for a new surgical robot. The part had a complex internal channel that had to be machined at a specific angle, with a tolerance of 10 microns on the intersection point.
The initial quote was for a 5-axis machining center. The estimated cycle time was 4 hours per part, and the quoted price was $1,200 per unit. The customer balked at the price. They wanted to know if we could do it on a 3-axis machine with a right-angle head to save money.
My team and I did a deep dive into the geometry. We realized that by using a custom-designed, multi-angle fixture and a standard 3-axis machine, we could perform the operation in two set-ups instead of one complex 5-axis operation. The risk was in the re-fixturing accuracy. If we couldn’t hold the part location within 2 microns between operations, we’d be lost.
We designed a fixture with a hardened steel ball-lock system that located the part off a precision-ground bore. The repeatability of the fixture was measured using a CMM—it was consistently within 1.5 microns.
The results were staggering.
| Parameter | 5-Axis Approach | 3-Axis Approach (Custom Fixture) |
| :— | :— | :— |
| Initial Setup Time | 4 hours | 1.5 hours |
| Cycle Time per Part | 4 hours | 2.75 hours |
| Fixturing Cost | $0 (included in machine rate) | $3,500 (one-time) |
| Cost per Part (Volume: 500 units) | $1,200 | $780 |
| Scrap Rate | 3% |