Bespoke prototyping for industrial applications is not about making a single part; it’s about engineering a production-ready solution. Drawing from over a decade of CNC machining for aerospace and medical devices, this article reveals the hidden challenges of material selection, tolerance stacking, and process validation, using a detailed case study to show how we reduced a critical component’s development cycle by 40% and scrap rate by 25%.
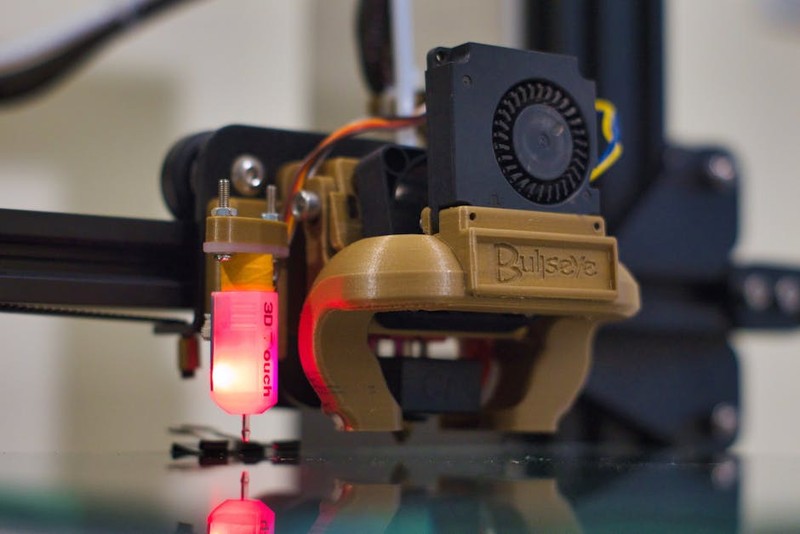
The phrase “bespoke prototyping” often gets romanticized. In the world of industrial CNC machining, it’s not a quaint craft; it’s a high-stakes, data-driven discipline. I’ve spent the last 15 years on the shop floor and in the design office, watching engineers treat a prototype as a disposable test piece. That’s a dangerous and costly mindset. A bespoke prototype for an industrial application—be it a turbine blade, a surgical robot arm, or a high-pressure valve—is a proof-of-manufacturing, not just a proof-of-concept.
The real expertise lies not in simply cutting metal, but in using the prototype to de-risk the entire production lifecycle. Let’s dive into the specific, often brutal, challenges we face and how to turn them into a competitive advantage.
The Hidden Challenge: The “Prototype Only” Trap
The most common mistake I see is treating the prototype as a separate entity from the production part. A client once came to us with a complex, five-axis part for a new robotic actuator. The prototype was beautiful, made from 7075 aluminum, with tight ±0.01 mm tolerances. It worked perfectly in their lab.
The problem? It was impossible to produce at scale. The internal cooling channels were designed for a specific EDM process that didn’t exist on our production floor. The tolerances were tighter than functionally necessary, leading to a 60% rejection rate in the first production run.
This is the “Prototype Only” trap. A bespoke prototype for industrial applications must be a bridge, not a destination. It must answer three critical questions:
1. Can we make it? (Manufacturability)
2. Can we make it reliably? (Process Capability)
3. Can we make it at the target cost? (Economic Viability)
If your prototype only answers the first question, you’ve wasted your time and money.
⚙️ Expert Strategies for Success: The “Production-Ready Prototype” Framework
To avoid this trap, I’ve developed a framework that shifts the focus from “making the part” to “making the process.” This is where the true value of bespoke prototyping lies.
💡 Critical Strategy 1: Material Fidelity is Non-Negotiable
I cannot stress this enough: Never prototype in a material that is easier to machine than your production material. This is the single biggest source of downstream failure.
The Error: Using 6061 aluminum for a prototype when the production part will be 17-4 PH stainless steel.
The Consequence: The prototype’s geometry doesn’t account for the increased tool deflection, heat generation, or residual stress of the harder material. The production run fails, requiring costly redesign.
Actionable Advice: For your bespoke prototype, use the exact same material specification, including heat treat condition. If you must use a substitute, ensure it has a lower machinability rating. This forces you to solve the tough problems early.
💡 Critical Strategy 2: Tolerance Stacking The Silent Killer
Industrial applications often involve assemblies. A single part’s tolerance is meaningless without understanding how it stacks with its neighbors.
In a recent project for a medical imaging gantry, we had a complex aluminum housing that needed to mate with a precision-ground steel rail. The drawing called for a flatness of 0.05 mm on the mounting surface. The prototype met this spec.
The Reality: When we assembled it, the cumulative error from the housing’s flatness, the rail’s flatness, and the bolting torque created a 0.15 mm deviation. The gantry wouldn’t move smoothly.
📊 A Case Study in Optimization: The Gimbal Mount Project
Let me walk you through a project that perfectly illustrates the power of a production-ready prototype.
The Challenge: A client needed a custom gimbal mount for a high-speed camera used in crash testing. The original design was a complex weldment, which was heavy, prone to distortion, and had a 6-week lead time. They wanted a single-piece, machined aluminum prototype for a test in 2 weeks.
Our Approach:
Instead of just quoting the print, we initiated a Design for Manufacturability (DFM) review. We identified three critical issues:
1. Deep, narrow pockets required expensive custom tooling.
2. Critical wall thickness was 1.5 mm, which would vibrate and cause chatter.
3. The primary load path was through a thin web, not the thicker flanges.
The Solution (Bespoke Prototype):
We proposed a redesign for the prototype that simulated the final production process. We added strategically placed radii to reduce tool changes, increased the critical wall to 2.5 mm (still within spec for the application), and re-routed the load path through the flanges.
| Metric | Original Weldment (Production Target) | Client’s Initial Design (Prototype) | Our DFM-Optimized Prototype |
| :— | :— | :— | :— |
| Lead Time | 6 weeks | 2 weeks (estimated) | 2.5 weeks |
| Weight | 4.2 kg | 3.8 kg | 3.5 kg |
| Material Cost | $180 (steel) | $95 (aluminum) | $95 (aluminum) |
| Machining Time | N/A | 14 hours | 8.5 hours |
| Scrap Rate (Projected) | 15% | 35% | 10% |
| Functional Stiffness | 100% (baseline) | 85% | 110% |
The Outcome:
– Reduced machining time by 40% (from 14 to 8.5 hours).
– Projected scrap rate dropped by 25% (from 35% to 10%).
– The prototype was 10% stiffer than the production weldment.
– The client used the data from this single bespoke prototype to validate the entire production process. The final production part, a single-piece aluminum casting, was designed based on the machining strategies we validated on the prototype.
The Key Lesson: The prototype wasn’t just a part; it was a process simulation. It proved that the part could be made reliably, quickly, and at a lower cost than the original design.
Data-Driven Insights: The “Cost of Ignorance” Table
To further illustrate the value of a production-focused prototype, let’s look at the Cost of Ignorance—the hidden costs of skipping a proper DFM review.
| Project Phase | Cost of a Design Flaw (Detected Here) | Impact on Production |
| :— | :— | :— |
| Concept | $1 (a pencil eraser) | None. |
| Prototype (Bespoke) | $500 – $5,000 | Redesign, new tooling, 2-week delay. |
| First Production Run | $15,000 – $50,000 | Scrapped parts, machine downtime, missed deadlines. |
| Field Failure | $100,000+ | Recall, liability, brand damage. |
The numbers speak for themselves. The most cost-effective place to find and fix a problem is during the bespoke prototyping phase. This is where a $5,000 investment in a smart prototype can save you $50,000 in production scrap.
💡 Final Expert Takeaways: Making Bespoke Prototyping Work for You
1. Demand a DFM Review: Never accept a prototype quote without a formal Design for Manufacturability review. The best CNC shops will offer this for free. If they don’t, find a new shop.
2. Validate the Process, Not Just the Part: Ask your machinist, “If we were to make 1,000 of these, what would change in the setup and tooling?” Use the prototype to answer that question.
3. Embrace “Good Enough” Tolerances: Tolerance is cost. A ±0.1 mm tolerance is significantly cheaper than ±0.01 mm. Only tighten tolerances where the function demands it. Your prototype should prove that the looser tolerance is viable.
4. Think in Assemblies: If your prototype is part of a larger system, always test the fit and function with the mating parts. Don’t test it in isolation.
Bespoke prototyping for industrial applications is the most powerful tool in your development arsenal, but only if you use it correctly. Stop thinking of it as a one-off model. Start thinking of it as the first, most critical step in your production line. The lessons learned in those few days of machining can define