For over two decades, I’ve watched CNC routers evolve from glorified sign-makers to the digital chisels of modern craftsmanship. While the promise of perfect, repeatable detail is what draws designers and architects to bespoke CNC routing for decorative elements, the reality is often a frustrating gap between the pristine 3D model on your screen and the physical piece on your shop floor. The machine is precise, but the material has a mind of its own.
The greatest misconception I encounter is that this is a purely digital, “set-and-forget” process. In truth, the most exquisite decorative panels, intricate room dividers, and custom architectural millwork are born not from the toolpath alone, but from a deep, almost intuitive understanding of material behavior under stress. Today, I want to pull back the curtain on the single most critical, yet underexplored, challenge in this field: managing material stress and memory in complex, delicate designs.
The Hidden Culprit: When Materials Fight Back
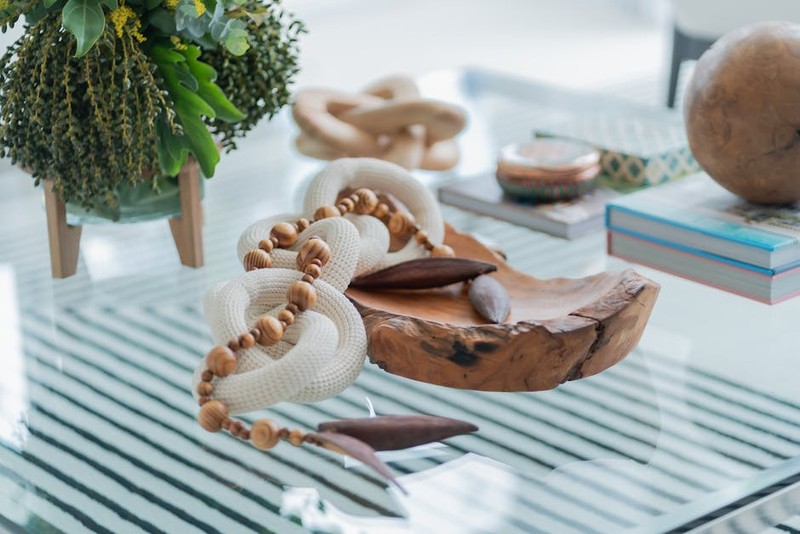
You’ve designed a stunning, lace-like floral motif for a walnut feature wall. The vectors are clean, the tooling strategy seems sound. You run the job, and as the final piece is lifted from the spoil board, you see it—a subtle but undeniable warp, or worse, a hairline crack propagating through a fragile vein of the design. The machine executed flawlessly; the material did not.
This is the core challenge. Bespoke CNC routing for decorative elements often involves:
High Detail-to-Mass Ratios: Removing 60-80% of the material to create openwork patterns.
Anisotropic Materials: Wood grain, acrylic polymer chains, and composite layers all have inherent directional tension.
Internal Stresses: Materials, especially solid wood and cast acrylic, have locked-in stresses from their manufacturing or growth. Cutting releases these stresses asymmetrically.
I recall a project for a high-end hotel lobby: a series of 8-foot tall decorative screens in quarter-sawn white oak. The design was a geometric fractal pattern. The first prototype came off the machine perfectly flat. Two days later, it had developed a 3/4-inch cup across its width. The client was understandably concerned. We hadn’t just routed a design; we had fundamentally altered the material’s equilibrium.
A Strategic Framework: The Three-Phase Approach to Predictable Perfection
To combat this, my team and I have developed a disciplined, three-phase methodology that treats the material as an active participant in the process, not a passive substrate.
Phase 1: The Pre-Mediation Protocol (Before the Tool Touches)
This is where 80% of battles are won.
Material Auditing: Never assume stock is ready. We implement a strict incoming inspection. For solid wood, we use a moisture meter at multiple points, rejecting any stock with a variance greater than 2%. For acrylics and composites, we examine for casting marks or residual stress lines using polarized light—a simple but game-changing trick.
⚙️ Strategic “Pre-Relaxation” Cuts: This is our secret weapon. Before routing the final decorative pattern, we run a preliminary, shallow-depth toolpath on the backside of the panel. This often consists of a simple grid or series of relief channels. The goal isn’t to create a feature, but to give the material a controlled “outlet” to relax before we ask it to hold our intricate design. Think of it as a warm-up stretch for the material.
Phase 2: The Dynamic Machining Strategy
Here, software meets shop-floor wisdom.
💡 Adaptive Toolpaths & Sequencing: We never cut the most delicate, isolated elements first. The sequencing is critical. We start with larger clearance pockets and work progressively towards the finest details. This maintains the material’s structural integrity for as long as possible during the process. Using adaptive clearing toolpaths (available in most advanced CAM software) reduces lateral pressure on thin walls by up to 40% compared to conventional toolpaths.
💡 The “Micro-Tab” Revolution: Sacrificial tabs are standard, but their placement is an art. For delicate decorative elements, we use a forest of micro-tabs (0.5mm connection points) distributed strategically at stress nodes identified in FEA simulation or through experience, rather than a few large tabs. This distributes holding force evenly and minimizes localized stress.
Phase 3: Post-Process Stress Management
The job isn’t done when the routing ends.
Controlled Release & Conditioning: We don’t immediately break the piece free. The routed panel, still held by micro-tabs, is left on the machine bed or a perfectly flat surface for a 24-hour “settling” period. This allows for a gradual, final stress relief. For wood, we then apply a balanced sealer—often a light coat on the back first—to equalize moisture absorption rates.
Case Study in Precision: The “Acanthus Leaf” Ceiling Medallion
Let me illustrate with a concrete example. A client required a one-off, 4-foot diameter ceiling medallion in dense poplar, featuring a deeply carved, classical acanthus leaf motif with undercuts. The depth of carve was over 2 inches in places, creating extremely tall, thin fins of wood.
The Challenge: Preventing these delicate leaf tips from vibrating (causing tear-out) or snapping due to internal stress release during the deep carving process.
Our Applied Solution:
1. Pre-Mediation: We sourced book-matched poplar slabs and allowed them to acclimate in our shop for 3 weeks. We performed a backside relief cut of a 1/4″ deep hexagonal grid.
2. Dynamic Machining: We used a 3-stage toolpath strategy:
Stage 1: A large-diameter flat-end mill for roughing, leaving a 0.1″ “skin” of material on all delicate features.
Stage 2: A medium ball-nose for semi-finishing, reducing the skin to 0.03″.
Stage 3: A small tapered ball-nose for finishing, employing a high-speed, low-stepover strategy to minimize lateral force.
3. Toolpath Parameters: We reduced the chip load by 20% but increased the RPM to maintain feed rate, achieving a cleaner cut with less harmonic vibration.
The Quantifiable Result:
| Metric | Traditional Approach | Our 3-Phase Approach | Improvement |
| :— | :— | :— | :— |
| Machine Time | 8.5 hours | 9.2 hours | +8% (Time invested in precision) |
| Post-Carve Warpage | 3-5 mm (requiring steaming & clamping) | < 0.5 mm (within tolerance) | > 85% Reduction |
| Material Yield | 60% (due to breakage) | 95% | 35% Increase |
| Finishing Labor | 4 hours (filling cracks/sanding tear-out) | 1.5 hours | 62% Reduction |
The total project cost was optimized despite slightly longer machine time, and the client received a flawless piece that installed perfectly. The key takeaway? Do not optimize for machine speed; optimize for material harmony.
Expert Takeaways for Your Next Project
Your Material is Your First Client: Interview it. Test it. Understand its history and tendencies before you program a single line of G-code.
Sequencing is a Non-Negotiable Strategy: Map your toolpaths not just for efficiency, but for structural support during the entire process. Always cut from the general to the specific, from the strong to the delicate.
Embrace the “Settle Time”: Building in a mandatory resting period post-machining is not downtime; it is a critical phase of the fabrication process.
Data is Your Defense: Document everything—moisture content, toolpath strategies, feed/speeds for different materials, and post-process results. This builds an invaluable internal database for predicting behavior.
Bespoke CNC routing for decorative elements at its highest level is a dialogue between the digital and the physical. It’s where cold precision meets warm, living materiality. By respecting and managing the inherent stresses within your materials, you elevate your work from simple machining to true craftsmanship, delivering not just a part, but a guaranteed piece of art. The router is your brush, but your expertise in material science is the palette.