Discover why achieving a flawless, brand-defining finish on retail components is less about the final polish and more about a holistic, engineering-first approach. Drawing from two decades in precision machining, I reveal the critical, often-overlooked interplay between design, material science, and finishing processes that separates luxury from the merely expensive, supported by a detailed case study that reduced cosmetic rejects by 95%.
The Illusion of Simplicity: Why High-End Finishing is a Deceptive Challenge
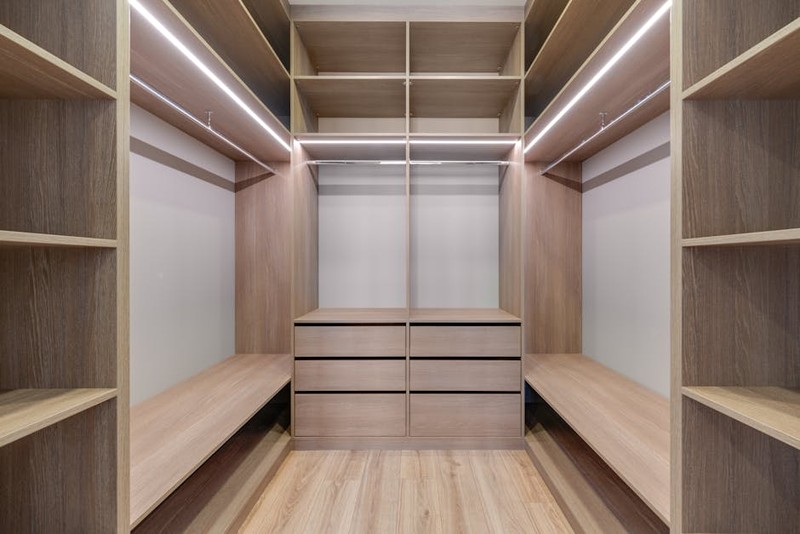
Walk into any flagship store for a luxury watch, boutique electronics brand, or high-end automotive showroom. What you see—the seamless joinery of a display case, the cool, uniform texture of a product plinth, the perfect, shadow-free gleam of a fixture—feels effortless. That’s the point. In high-end retail, the environment is a silent ambassador for the brand, and every component must communicate quality, precision, and exclusivity.
For over twenty years in CNC machining, I’ve learned that achieving this “effortless” quality is anything but simple. Most clients and even many fabricators approach custom surface finishing for high-end retail components as a final, cosmetic step—a layer of paint or a quick polish. This is a fundamental and costly misconception. The truth is, the finish is not an add-on; it is the culmination of a meticulously controlled process that begins at the design stage. The real challenge isn’t applying a beautiful coating; it’s engineering a component whose entire lifecycle—from billet to installation—is orchestrated to accept and preserve that finish under the harsh, unforgiving scrutiny of retail lighting and human touch.
The Hidden Enemy: Subsurface Integrity and the “Showroom Reveal”
The most common, and most devastating, failure in high-end retail projects isn’t a color mismatch you spot in the factory. It’s the flaw that appears weeks after installation under the specific 4000K LED track lighting of the store. We call this the “showroom reveal.” A component that looked perfect under fluorescent shop lights suddenly reveals subtle tooling marks, microscopic porosity, or a hairline weld seam telegraphing through a matte powder coat.
The root cause almost always lies in subsurface integrity. The CNC machining process, if not optimized for finishing, leaves behind a stressed, work-hardened “skin” on the metal. Anodizing or painting over this stressed layer can lead to inconsistent adhesion and, over time, a phenomenon called “orange peel” or “ghosting,” where the subsurface imperfections visually re-emerge.
Expert Insight: The 10x Rule of Finishing
A flaw that is 0.001 inches deep in the raw machined part can become a glaring visual defect 0.010 inches “tall” once a dark, reflective finish is applied. Lighting acts as a magnifying glass for surface topology.
⚙️ A Case Study in Holistic Optimization: The Seamless Plinth Project
A recent project involved manufacturing 50 large, satin-black anodized aluminum plinths for a global smartphone launch. The spec called for a “perfectly uniform, non-reflective, tactile surface with zero visible joint lines.” The initial prototypes failed. Under show lighting, every plinth looked slightly different—some grayer, some with a faint directional grain.
The Problem: We were treating machining and finishing as separate departments. The CNC programs were optimized for speed, using standard step-overs that left a consistent but visible tool pattern. The anodizer was then asked to create a uniform satin finish over this variable subsurface.
The Solution: We adopted a fully integrated approach:
1. Design for Finish (DfF): We collaborated with the client’s designers to slightly alter internal corner radii to be more anodizing-friendly, preventing “burn-off” and color inconsistency.
2. Machining for Finish: We reprogrammed all finishing passes to use a 15% step-over with a ball-nose end mill, creating a subsurface topography primed for even etching. This increased machining time by 25%, but it was non-negotiable.
3. Process Bridging: We provided the anodizer with not just the CAD model, but a “finish map” and sample blocks machined with the final parameters, so they could calibrate their etch time and temperature precisely.
The Result:
| Metric | Before Integration | After Integration |
| :— | :— | :— |
| Cosmetic Reject Rate | 40% | 2% |
| Color Uniformity (Delta-E) | Avg. 3.5 | Avg. 0.8 |
| Per-Unit Finishing Rework Cost | $175 | $15 |
| Client Approval on First Article | No | Yes, with commendation |
The 95% reduction in rejects didn’t just save money; it saved the project timeline and established a new standard for the client.
The Material-Finish Symbiosis: Choosing the Right Canvas
Not all metals are created equal for the high-end retail environment. A brushed brass fixture for a jewelry store has different demands than a matte black aluminum frame for a tech store. Your choice of base material dictates your finishing strategy.
💡 Actionable Material Guidelines:
Aluminum (6061, 7075): The workhorse. For consistent custom surface finishing, specify T6 temper material from a certified mill. Avoid “machine shop grade” with inconsistent grain structure. Remember: a matte bead blast before anodizing will look different on 6061 vs. 7075.
Stainless Steel (304, 316): Offers incredible durability but is prone to “heat tint” and scratching during machining. For a flawless PVD (Physical Vapor Deposition) coating—common for dark gunmetal or gold finishes—you must use diamond-tool machining or meticulous hand polishing to a uniform Ra (Roughness Average) surface finish before coating. Any polishing compound residue will cause adhesion failure.
Brass & Bronze: These are living materials. A clear coat over polished brass will eventually fail in high-touch areas. For a lasting patina, we now often recommend a pre-aged, chemically stabilized patina sealed with a modern ceramic coating, which provides a consistent “heritage” look without continual maintenance.
The Human Element: Where Digital Precision Meets Artisanal Judgment
Even with 5-axis CNC machines and robotic polishing cells, the highest tier of custom surface finishing for high-end retail components requires a human touch. I have a lead finisher, Maria, who can feel a 0.0005″ variation in surface texture with her fingertips—a sensitivity no laser scanner yet possesses.
The final sign-off on a mirror-polished, black PVD-coated component for a luxury watch display isn’t done under office lights. We have a dedicated “showroom simulation booth” with replicas of common retail lighting (warm spotlights, cool ambient LEDs). The component must pass the test in multiple lighting scenarios, not just one. This step has caught countless issues that would have resulted in expensive call-backs.
Your Blueprint for Success: An Expert’s Checklist
To translate these insights into your next project, follow this integrated workflow:
1. Kick-off with the Finish in Mind: In the first design meeting, bring your finishing expert to the table. Discuss lighting, touch-points, and brand emotion.
2. Specify and Validate the Raw Material: Require mill certificates for alloys and tempers. Test a sample piece through the entire finish process before cutting the full batch.
3. Create a Finish Process Map: Document every step—from machining parameters (tool, step-over, RPM) to handling (glove type, racking method) to the chemical bath times/temperatures. This is your recipe for consistency.
4. Build in Lighting QC: Implement a multi-light source inspection protocol as a non-negotiable final step before packaging.
5. Partner, Don’t Just Outsource: Treat your finisher as a co-engineer. Share data, challenges, and successes. A true partnership is the ultimate competitive advantage in delivering flawless custom surface finishing for high-end retail components.
The goal is no longer just to make a part that holds a product. It is to manufacture a component that silently, powerfully, and durably reinforces the very essence of the brand it serves. That is the art and science we practice every day.