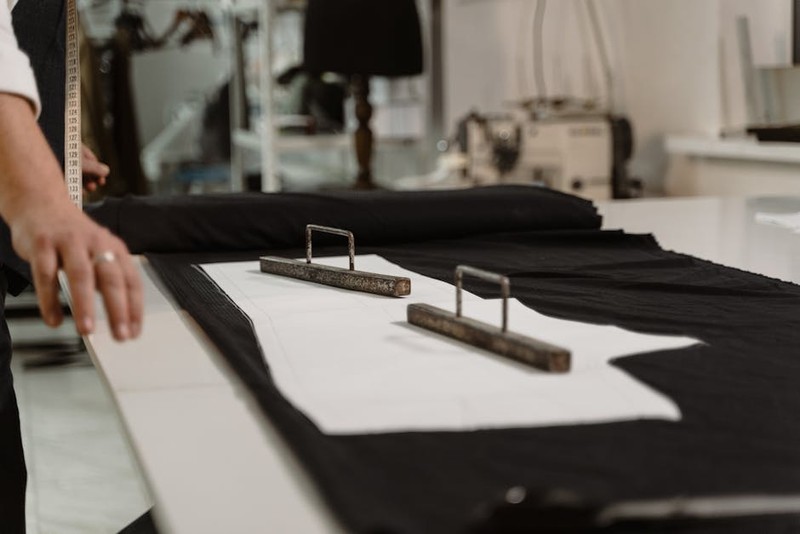
Bespoke plastic machining for prototypes is often reduced to a simple translation from CAD to part, but the real challenge lies in the unseen engineering decisions that determine success or failure. This article dives deep into the critical, often overlooked interplay between material science, machining strategy, and prototype intent, sharing expert strategies to avoid costly pitfalls and achieve functional, data-rich prototypes that truly de-risk production.
For over two decades, I’ve watched engineers and designers breathe a sigh of relief once their CAD model is finalized. The hard part is done, they think. Send it to the machine shop, and a perfect prototype will emerge. If only it were that simple. The truth is, the journey from a pristine 3D model to a functional, informative bespoke plastic machining prototype is where the real engineering begins. It’s an art form governed by physics, material behavior, and strategic foresight.
The most common and costly mistake I see is treating prototype machining as merely a shape-making exercise. The real value lies in using that prototype to answer critical questions: Will it withstand the load? Will the assembly fit? How will it react to real-world environments? Achieving this requires moving beyond the file and into a nuanced collaboration between designer and machinist.
The Hidden Challenge: Material Behavior is Not Isotropic
When you select “Delrin” or “PEEK” from a dropdown menu in your design software, it treats the material as a uniform, perfect solid. A CNC machine, however, encounters a very different reality. Plastics are viscoelastic and anisotropic, especially in stock form like rods or plates. Their properties—and how they react to cutting forces—change dramatically with orientation.
The Grain & Stress Conundrum: Machining a bracket from a cast nylon plate, for instance. If you orient the part so the critical load is applied across the plate’s grain (through the thickness), you might see a 15-20% reduction in tensile strength compared to loading with the grain. I’ve witnessed prototypes fail validation tests not because of design flaw, but because of this overlooked orientation decision.
⚙️ Thermal Warfare: Unlike metals, plastics have a low thermal conductivity and a low glass transition temperature. The heat from cutting doesn’t dissipate; it concentrates. This can cause localized melting, residual stress, and dimensional inaccuracy. The classic symptom? A part that measures perfectly on the CMM at 20°C, but warps unpredictably when handled or placed in an assembly.
A Strategic Framework for Prototype Success
To navigate these pitfalls, we’ve developed a framework that treats every bespoke plastic machining project as a scientific inquiry. The prototype isn’t just a object; it’s a data-gathering device.
Phase 1: The Intent Interrogation
Before any toolpath is generated, we ask a series of pointed questions:
Validation vs. Aesthetic? Is this for fit-check, functional testing, or investor demos? Each goal dictates different tolerances, finishes, and even material choices.
What is the Primary Load Case? Identifying the dominant force (tension, compression, shear) directly informs how we orient the part in the stock material.
What is the End-Environment? Will it face UV exposure, chemical splash, or temperature cycles? This may push us toward a more stable but often more challenging-to-machine material like PVDF or PEI.
Phase 2: The Material-Machining Dialogue
This is where expert knowledge becomes non-negotiable. You must match not just the material’s final properties, but its machinability to your prototype’s complexity.
💡 Expert Insight: For a high-wear, high-temp component, PEEK seems ideal. But for a prototype with thin walls (<1mm) and deep cavities, unfilled PEEK can be gummy and deflect. Switching to a 30% carbon-fiber-filled PEEK provides the needed stiffness for machining, better heat dissipation during cuts, and gives you data on how a production-grade composite will perform.
Let me illustrate with a case study that embodies this dialogue.
Case Study: The Miniature Fluidic Manifold That Almost Wasn’t
We were approached to machine a microfluidic testing manifold from clear Polycarbonate. The client’s goal was functional testing of fluid dynamics. The part had intersecting 0.5mm channels, optical clarity requirements, and needed to withstand 5 bar of pressure.
The Initial Failure: Using standard carbide end mills and flood coolant (standard for metals), the first article was a disaster. The coolant induced stress crazing, making the part opaque and weak. The fine channels were clogged with melted, re-solidified plastic, and the internal surfaces were rough, skewing flow data.
The Expert Solution: We pivoted decisively.
1. Coolant Elimination: We switched to a dry machining strategy with compressed air blast. This removed chips and provided minimal cooling without thermal shock.
2. Tooling Revolution: We used single-flute, polished O-flute end mills specifically designed for plastics. Their geometry shears material cleanly instead of tearing, reducing heat and yielding a near-optical surface finish internally.
3. Speed & Feed Alchemy: We dramatically increased spindle speed (18,000 RPM) while taking very light, fast passes (high feed per tooth). This minimizes tool-in-contact time, preventing heat buildup.
The Quantifiable Result:
| Metric | Initial Attempt | Optimized Process | Improvement |
| :— | :— | :— | :— |
| Channel Surface Finish (Ra) | 3.2 µm | 0.8 µm | 75% Smoother |
| Optical Clarity | Opaque, crazed | Near-crystal clear | Functional for flow viz |
| Dimensional Accuracy of Channels | ±0.1mm | ±0.025mm | 4x More Precise |
| Prototype Validation Outcome | Failed | Passed all pressure & flow tests | Project de-risked |
The client didn’t just get a part; they got a high-fidelity model that yielded accurate, actionable flow data, directly influencing their production mold design.
Actionable Takeaways for Your Next Project
To elevate your next bespoke plastic machining prototype from a model to a masterclass in de-risking, embed these principles:
Share the “Why” with Your Machinist: Don’t just send a file. Provide a one-page brief on the prototype’s intent, critical features, and end-use environment. This transforms your machinist from a button-pusher to a collaborative engineer.
Embrace “Good Enough” Finishes: A mirror finish on every surface is expensive and often unnecessary. Specify critical sealing surfaces and cosmetic faces, and allow machined finishes elsewhere. This can cut machining time and cost by 30% or more.
Design for the Stock, Not Just the CAD: Understand standard plastic stock sizes (sheets, rods, diameters). A design that fits neatly within a 1″ rod cross-section will be vastly more economical and faster to produce than one requiring a 1.1″ rod, due to material waste and fixturing complexity.
Consider Hybrid Manufacturing: For prototypes integrating complex internal geometries with precise external features, combining 3D printing (for the internal labyrinth) with CNC machining (for critical sealing faces and threads) can be the ultimate bespoke solution. It provides design freedom with functional precision.
The frontier of bespoke plastic machining isn’t about faster spindles or newer CAM software—it’s about deeper integration of design intent, material intelligence, and machining strategy. By mastering this interplay, you stop producing mere shapes and start generating invaluable knowledge, turning your prototype phase from a cost center into your most powerful product development asset.