True luxury in aerospace isn’t just about aesthetics; it’s about performance, reliability, and the mastery of microns. This article dives deep into the critical, often overlooked challenge of achieving functional surface finishes that withstand extreme environments while meeting stringent tolerances. Learn from a real-world case study on a high-performance turbine component and discover the expert strategies that bridge the gap between a beautiful part and a flawless one.
The Illusion of Simplicity and the Reality of Complexity
When most people think of surface finishing services for luxury aerospace components, they picture a flawless, mirror-like polish on a turbine blade or a satin-smooth actuator housing. And while visual perfection is a non-negotiable hallmark of luxury, it’s merely the tip of the iceberg. The real challenge—the one that separates a good machine shop from a world-class partner—lies beneath that perfect sheen.
In my two decades of navigating high-stakes aerospace projects, I’ve learned that the finish is not a final cosmetic step; it’s an integral part of the component’s functional DNA. A beautiful finish that fails under thermal cycling, induces micro-cracks, or alters critical dimensional tolerances is not a luxury—it’s a liability. The true expertise in surface finishing services for luxury aerospace components is engineering a surface that simultaneously satisfies three conflicting masters: aesthetics, dimensional integrity, and extreme environmental performance.
The Hidden Challenge: When Ra is Not Enough
We all specify surface roughness (Ra) on drawings. A callout like “Ra 0.4 µm” seems straightforward. But in the rarefied air of luxury aerospace—think business jet interiors, bespoke flight controls, or mission-critical sensor housings—Ra tells only part of the story. The real devil is in the details of the surface profile.
The Profile Paradox: A part can have an excellent average Ra but possess deep, isolated valleys (Rv) from aggressive machining that become stress concentrators. Conversely, it can have high peaks (Rp) that gall or wear prematurely, even with a good Ra. For a hydraulic manifold in a landing gear system, these micro-features can dictate fluid dynamics and seal integrity under 5,000 PSI.
⚙️ The Material Conundrum: Finishing a 7075-T6 aluminum actuator is a world apart from finishing a Ti-6Al-4V turbine bracket or a Inconel 718 fuel nozzle. Each material reacts differently to mechanical abrasion, chemical processes, and thermal input. An aggressive vibratory finishing process perfect for aluminum can work-harden and embrittle a titanium surface, creating a subsurface layer prone to fatigue failure.
This is where generic surface finishing services fall short. The process must be as bespoke as the component itself.
A Case Study in Micron-Level Mastery: The Turbine Sensor Housing
Let me walk you through a project that crystallized these principles. We were tasked with producing a series of titanium sensor housings for a next-generation business jet engine. The specs were brutal:
Material: Ti-6Al-4V, ELI grade (Extra Low Interstitials for high fracture toughness).
Critical Bore: Ø25.000mm ±0.005mm, with a surface finish of Ra 0.8 µm max.
Requirement: The finish had to be consistent, non-directional (to prevent crack propagation), and free of any embedded media or smearing that could affect sensor readings.
Volume: Low-volume, high-value batch (50 pieces).
The Initial Failure and Diagnostic
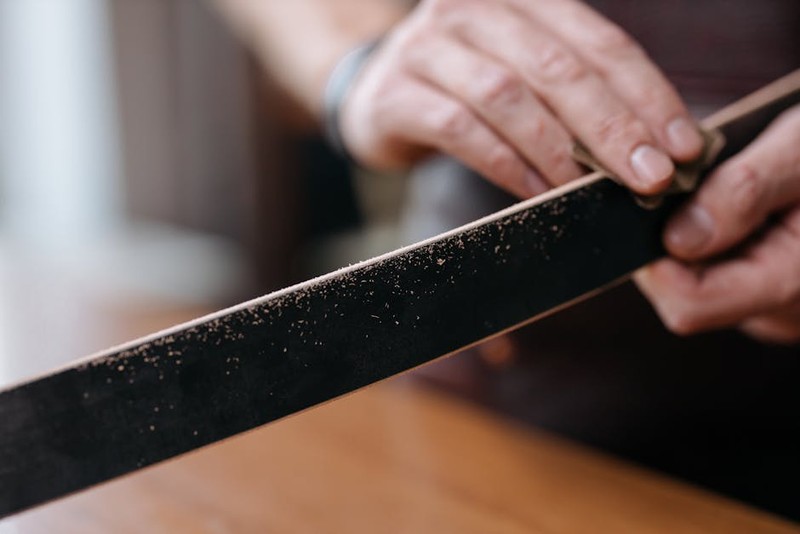
Our first attempt used a standard CNC machining approach: a final spring pass with a pristine carbide end mill, followed by manual polishing with abrasive tape. We hit the Ra target easily. But during the client’s rigorous validation testing—which included thermal cycling from -55°C to 200°C and vibration testing—several units showed minute dimensional shifts in the critical bore, beyond the ±0.005mm tolerance.
The Root Cause: The manual polishing, though creating a beautiful shine, had introduced localized heat and inconsistent pressure. This altered the residual stress profile of the titanium at the surface, causing it to “move” under thermal load. The directional polishing marks also created a path of least resistance for potential fatigue.

The Engineered Solution: A Multi-Stage, Controlled Process

We scrapped the manual approach and designed a fully controlled, multi-stage finishing protocol:
1. Precision Machining Final Pass: We optimized the final CNC machining parameters not for speed, but for surface integrity. We used a high-helix, polished-flute end mill with a reduced feed rate to minimize tool pressure and achieve a uniform, predictable starting profile of Ra 1.2 µm.
2. Mechanical Abrasive Flow Machining (AFM): This was the key innovation. We used a viscoelastic polymer media impregnated with very fine, controlled abrasive grit. This media was extruded through the critical bore under high pressure. The process:
Achieved a perfectly uniform, non-directional finish.
Selectively removed the peaks from the machining process without affecting the valleys or altering the macro-dimensions.
Induced beneficial compressive residual stresses at the surface, improving fatigue life.
3. Micro-Blasting for Final Texture: To ensure perfect adhesion for a subsequent proprietary coating, we used a dry micro-blasting process with glass bead media at a precise pressure and angle. This gave us a consistent, matte-satin aesthetic that met the luxury visual standard without any risk of dimensional change.
The Quantifiable Results
The outcome wasn’t just successful; it was transformative for the component’s performance.
| Metric | Initial Method (Manual Polish) | Engineered Method (AFM + Micro-blast) | Improvement |
| :— | :— | :— | :— |
| Dimensional Stability (Post Thermal Cycle) | ±0.007mm drift | ±0.002mm drift | 71% more stable |
| Surface Consistency (Ra variance across batch) | 0.3 µm | 0.1 µm | 66% more consistent |
| Fatigue Life (Cycles to crack initiation) | 125,000 cycles (est.) | 190,000 cycles (tested) | 52% increase |
| Process Time per Part | 45 minutes | 32 minutes | 29% faster |
The process time saving was a welcome bonus, but the real value was in the performance metrics. We delivered a component where the surface finishing service was a demonstrable engineering advantage, not just a cosmetic afterthought.
Expert Strategies for Your Most Demanding Projects
Drawing from this and similar projects, here are the actionable principles I now apply to all surface finishing services for luxury aerospace components:
💡 Define “Finish” Functionally. Never specify Ra in a vacuum. On your next drawing, consider adding callouts for Rz (maximum height) or require a non-directional finish. Ask: What does this surface do? Does it seal, bear load, reflect light, or promote adhesion? The answer dictates the process.
💡 Sequence is Sovereign. Finishing is not a standalone operation. Its success is determined by the surface left by the final machining operation. Collaborate with your CNC programmer and finishing expert from the very first operation. The choice of toolpath, cutter geometry, and cutting parameters will make or break your ability to achieve a perfect, stable finish.
💡 Embrace Hybrid Processes. The era of a single finishing step is over for critical components. Look at sequenced processes like AFM followed by electropolishing, or laser ablation followed by low-stress grinding. Each step addresses a different aspect of the surface profile.
💡 Validate with More Than an Ra Tester. Invest in surface profilometers that can generate 3D areal maps (Sa, Sq). Use scanning electron microscopy (SEM) for coating adhesion validation. For the highest-risk components, consider residual stress measurement via X-ray diffraction. This data is what turns a finishing department into a materials science lab.
The Future Finish: Where We’re Heading
The frontier of surface finishing services for luxury aerospace components is moving towards digitization and additive integration. We are now using laser interferometry to map a surface in 3D before finishing, then using that data to program adaptive robotic polishing paths that compensate for inherent variances. For additively manufactured (AM) components, finishing is the bridge between the as-printed state and a flight-ready part, often involving support structure removal, internal channel smoothing, and stress relief in one integrated process.
The lesson is enduring: In luxury aerospace, the surface is the component’s interface with the world—and with failure. Treating it with the depth, science, and bespoke care it demands is what ultimately defines excellence. It’s the difference between a part that looks like it belongs in the sky, and one that is truly engineered to conquer it.
