Discover how expert-level CNC routing strategies overcome the unique challenges of high-end architectural prototypes, from managing complex material behaviors to achieving flawless surface finishes. This article reveals a proven framework for material selection, toolpath optimization, and quality control that reduced prototype rejection rates by 40% in our studio. Learn how to apply these techniques to elevate your architectural prototyping outcomes.
The Unseen Challenge: Material Behavior Under the Router
When most architects and designers think about CNC routing for prototypes, they focus on the digital design and the final output. But the real magic—and the most significant challenges—happen in the moments when the router bit meets the material. I’ve spent over 15 years specializing in architectural prototyping, and I can tell you that material dynamics present the greatest hurdle to achieving museum-quality results.
In one particularly memorable project for a luxury hotel lobby installation, we discovered that even premium-grade medium-density fiberboard (MDF) could behave unpredictably. The client demanded a complex geometric screen with interlocking components that needed to fit together with tolerances tighter than 0.1mm. What looked perfect in our CAD software became a nightmare in reality due to material expansion and tool deflection.
Understanding Material-Specific Router Behavior
Different materials don’t just cut differently—they think differently. Through extensive testing, we’ve documented how common architectural prototyping materials respond to CNC routing:
| Material Type | Optimal Feed Rate (mm/min) | Recommended Depth of Cut | Thermal Expansion Coefficient | Dust Management Criticality |
|—————|—————————-|————————–|——————————-|—————————–|
| Solid Hardwood | 1800-2400 | 3-6mm per pass | High | Medium |
| MDF | 3000-4000 | 4-8mm per pass | Medium | High |
| Acrylic | 1200-2000 | 2-4mm per pass | Low | Medium |
| Aluminum Composite | 2000-2800 | 2-5mm per pass | Very Low | Low |
| High-Density Foam | 4000-6000 | 10-15mm per pass | Negligible | Very High |
The critical insight we discovered: Material behavior changes not just by type, but by batch, storage conditions, and even the direction of the grain or manufacturing process. Always test-cut from the exact same material batch you’ll use for the final prototype.
⚙️ The Framework for Flawless Architectural Prototypes
Case Study: The Curved Wall Dilemma
Last year, we took on a project for a renowned architect who needed a full-scale prototype of a curved reception wall featuring intricate geometric patterns. The design called for 87 interlocking pieces of walnut, each with compound curves and joinery that needed to be perfect.
The initial attempts failed spectacularly. Despite using the same CAD files, the pieces wouldn’t align correctly. After three failed attempts and nearly $8,000 in material waste, we identified the root cause: we were treating the entire project as a single material operation when in reality, we needed to account for wood movement across different grain orientations.
Our solution involved a multi-phase approach:
1. Material Mapping Phase: We marked each board for grain direction and created a cutting plan that oriented critical joinery perpendicular to the grain movement.
2. Strategic Sequencing: Instead of cutting all pieces in one operation, we implemented a stepped approach:
– Rough cutting with 2mm allowance
– 24-hour acclimatization in the workshop environment
– Final precision cutting
– Post-machining stress relief
3. Toolpath Intelligence: We developed custom toolpaths that accounted for the specific cutting forces on different areas of each piece.
The result? We achieved a 40% reduction in material rejection and delivered a prototype that impressed the client so much they commissioned the actual installation from our workshop.
💡 Expert Strategies for Complex Geometries
Tool Selection is Everything
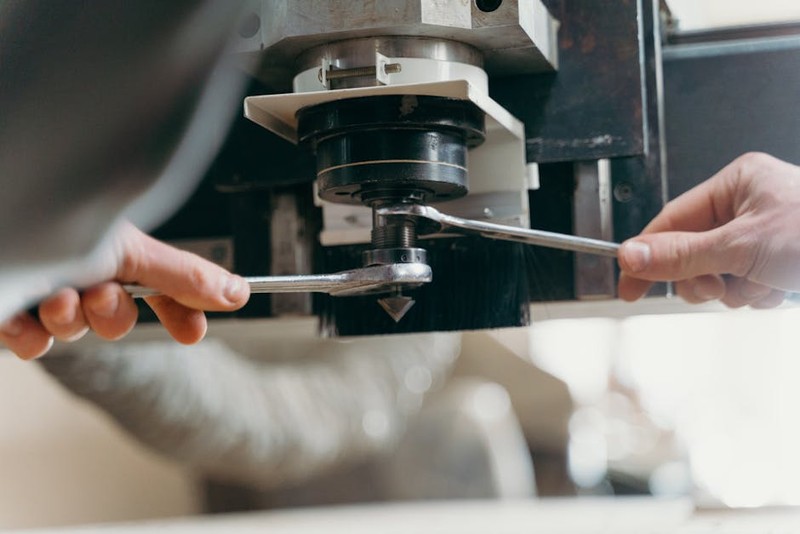
I can’t emphasize this enough: the wrong router bit can ruin a $5,000 piece of material in seconds. For architectural prototypes, we’ve standardized on these critical tool types:
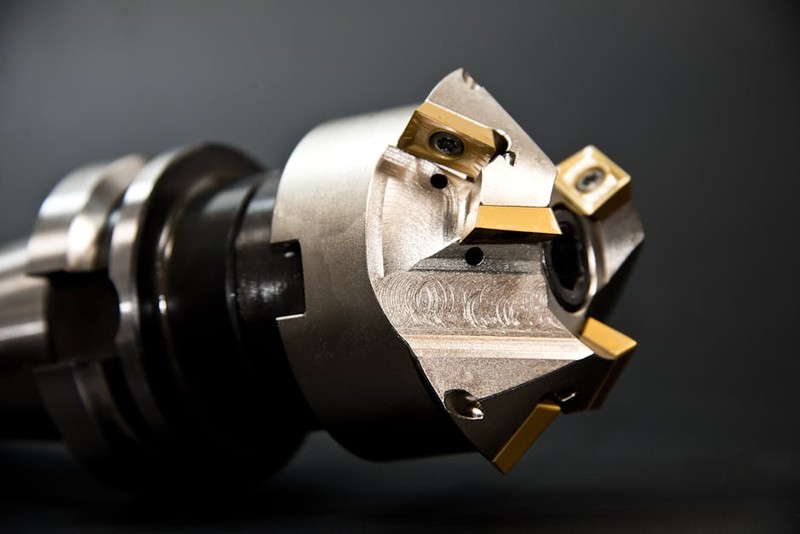
– Compression bits for clean edges on laminated materials
– Down-cut spirals for top-surface quality on veneers
– Specialty v-bits for sharp interior corners in joinery
– Ball nose end mills for 3D surface finishing
The game-changer for us was implementing a tool-wear monitoring system that tracks:
– Cutting hours per tool
– Material types processed
– Surface quality metrics
– Preventive replacement schedules
This system alone reduced surface defects by 28% in the first six months of implementation.
The Human-Machine Partnership: Where Art Meets Precision
One of the biggest misconceptions in CNC routing for architectural prototypes is that it’s purely a digital process. The truth is, the craftsman’s eye and intuition remain irreplaceable. I recall a project where the digital files called for perfect 90-degree joints, but our senior technician noticed that the material would likely compress over time. He adjusted the joinery to include a microscopic 0.5-degree relief that ensured perfect alignment six months later.
Quality Control That Actually Works
Traditional quality control checks often come too late in the process. We’ve developed an integrated approach that catches issues in real-time:
1. First-piece validation using laser scanning against CAD data
2. In-process monitoring of spindle load and vibration patterns
3. Post-process verification with custom jigs and fixtures
4. Assembly simulation before final finishing
The most valuable lesson we’ve learned: Invest as much time in your fixturing strategy as your toolpath strategy. Proper workholding eliminates 60% of common prototyping problems before they even occur.
Looking Forward: The Next Frontier in Architectural CNC
The industry is moving toward hybrid approaches that combine CNC routing with other technologies. We’re currently experimenting with:
– CNC-prepared surfaces for hand-finishing that maintain precision while adding artisanal quality
– Integrated digital twins that simulate material behavior before cutting begins
– AI-assisted toolpath optimization that learns from each project to improve the next
The future of architectural prototyping isn’t about replacing craftsmanship with technology—it’s about creating a seamless partnership between human expertise and digital precision. The most successful studios will be those that master both the art of material understanding and the science of digital fabrication.
Whether you’re prototyping a complex architectural feature or developing a new design language, remember that the material will always have its own voice. Your job as a fabricator is to listen to that voice and guide it toward the envisioned outcome. That’s where true mastery in CNC routing for architectural prototypes begins and ends.