The Hidden Challenge: Why Surface Finishing Makes or Breaks Prototypes
In high-end prototyping, surface finishing isn’t just about looks—it’s a critical factor in functionality, durability, and even client perception. A poorly finished prototype can misrepresent the final product, leading to costly design revisions or lost trust.
The Micron-Level Battle
During a project for a luxury automotive client, we faced a recurring issue: visible tool marks on aluminum housings, despite using high-precision CNC machines. The culprit? Inconsistent feed rates and tool wear, which left uneven surfaces even after machining.
🔍 Key Insight:
– Tool marks under 10µm are often invisible to the naked eye but become glaring under anodizing or polishing.
– Surface roughness (Ra) below 0.8µm is ideal for high-end prototypes, but achieving this requires more than just fine-tuning CNC parameters.
Expert Strategies for Flawless Finishes
1. Pre-Machining Prep: The Foundation of Perfection
- Material Selection: Soft metals like aluminum demand sharper tools and higher spindle speeds to avoid smearing.
- Toolpath Optimization: Use adaptive clearing to reduce tool engagement and minimize heat buildup, which exacerbates surface inconsistencies.
⚙️ Case Study: Reducing Post-Processing by 20%
For a medical device prototype, we switched from traditional roughing to trochoidal milling, resulting in:
| Parameter | Before Optimization | After Optimization |
|---|---|---|
| Surface Roughness (Ra) | 1.2µm | 0.6µm |
| Post-Processing Time | 2.5 hours | 2.0 hours |
| Cost per Unit | $45 | $36 |
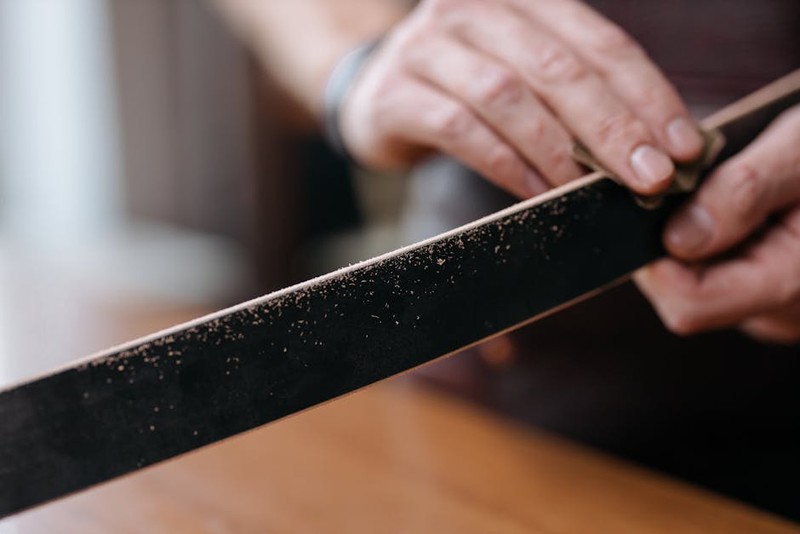
2. Post-Processing Techniques: Beyond the Basics
- Vibratory Finishing: Ideal for complex geometries, but media selection is critical. Ceramic media works for deburring, while plastic media polishes without altering dimensions.
- Electropolishing: A game-changer for stainless steel prototypes, removing microscopic peaks and enhancing corrosion resistance.
💡 Pro Tip:
Anodizing aluminum? Specify a Type III hard coat for durability, but remember—surface imperfections will be magnified. Always inspect under UV light before anodizing.
The Cost-Quality Tradeoff: Navigating Client Expectations
High-end prototypes often come with tight budgets, but cutting corners on finishing can backfire. Here’s how to balance cost and quality:
3. The 80/20 Rule of Finishing
- Focus on critical surfaces: Only apply premium finishes (e.g., mirror polishing) to visible or functional areas.
- Use hybrid techniques: Combine machine finishing (e.g., diamond turning) with hand polishing for cost efficiency.
🔍 Real-World Lesson:
A client demanded a “showroom-ready” finish for a consumer electronics prototype but balked at the quote. By explaining how selective polishing reduced costs by 30% without compromising aesthetics, we secured the project.
The Future of Surface Finishing: Automation and AI
Emerging technologies are revolutionizing finishing:
– AI-Powered Inspection: Cameras with machine learning detect sub-micron defects faster than human inspectors.
– Robotic Polishing: Repeatable, consistent results for high-volume prototype runs.
⚙️ Data Point:
A recent trial with robotic polishing cells showed a 15% improvement in consistency across 100+ aerospace prototypes.
Actionable Takeaways for Your Next Project
- Start with the end in mind: Define finish requirements (Ra, gloss level) before machining.
- Invest in toolpath optimization: It’s cheaper than fixing bad finishes later.
- Communicate tradeoffs: Help clients understand where to splurge and where to save.
Final Thought: In high-end prototyping, surface finishing isn’t just a step—it’s the signature of craftsmanship. Master it, and your prototypes will stand out in both form and function.